
Alright, let’s set the scene. You want to start sewing, but don’t know where to begin. There’s hundreds of fabric options, thread colours, trim styles, and pieces of equipment to consider, but all you want to do is make this thing you’ve envisioned in your head. It’s overwhelming. So, let’s reel it back in and talk about the basics. As much as I would love to jump right into some sewing projects, I want to start with the fundamentals so I can share a bit about my workflow whenever I start a project. And if there’s a chance you’re a beginner and want to get into sewing, I hope I can provide some useful nuggets of information to help get you started.
In this series of blog posts, I’m going to go over 3 things: 1) supplies, 2) fabric, and 3) construction. Supplies will go over the absolute ‘must-haves’ (in my opinion) of sewing, fabric will go over where I source fabric from, and construction will go over the general planning and prep for a project. Let me also preface this series by saying that this is meant to give you an idea of what I’m working with, and what has been tried and true for me. I’m sure this workflow will vary person to person depending on individual preferences.
Okay! Ready? Let’s get started.
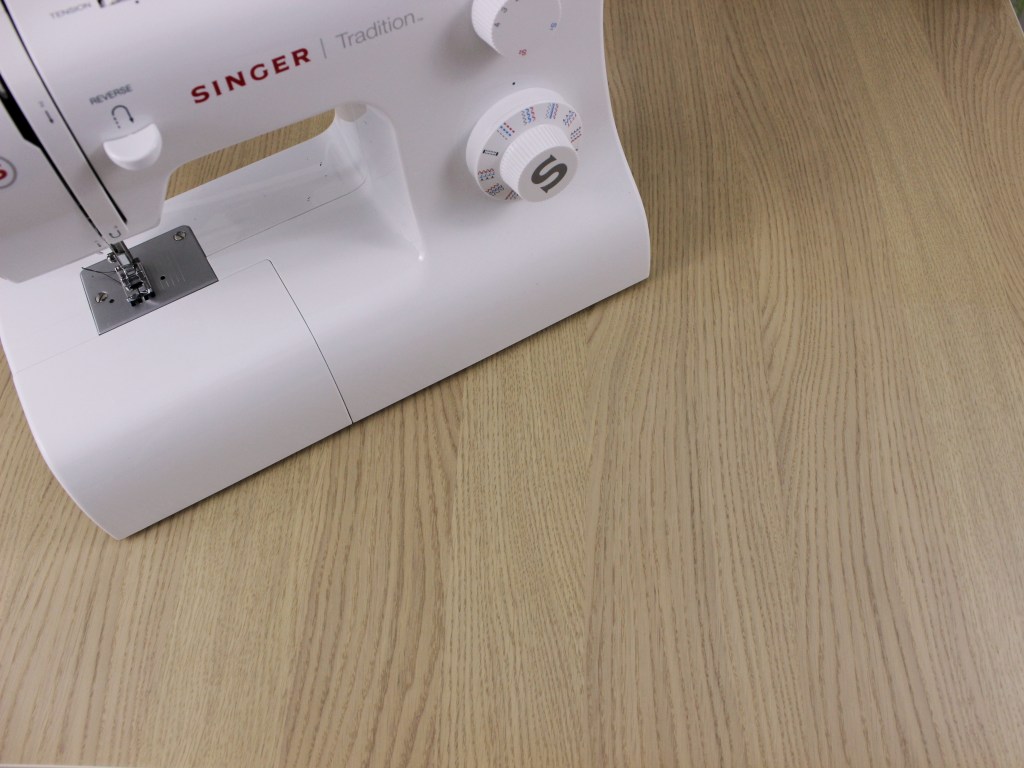
1. Sewing machine
The only question is, which one? There are mechanical machines, computerized machines, portable machines, industrial machines, machines that perform specialized functions (e.g., serger, embroidery, quilting), and probably a whole host of other ones I’m not even aware of. Bottom line, the type you get will depend on what you need it for and what you’re willing to spend. For instance, a portable sewing machine in theory sounds cool and more cost-effective, but it will likely only be useful for smaller, simpler projects. When I started, I used a smaller, dinky sewing machine I found in my laundry room to test out my interest in sewing. After that phase, I upgraded to a Singer Tradition 2822 sewing machine. I chose this one because it was a basic mechanical machine that wasn’t too expensive and would let me tackle a wide range of projects involving most weighted fabrics.
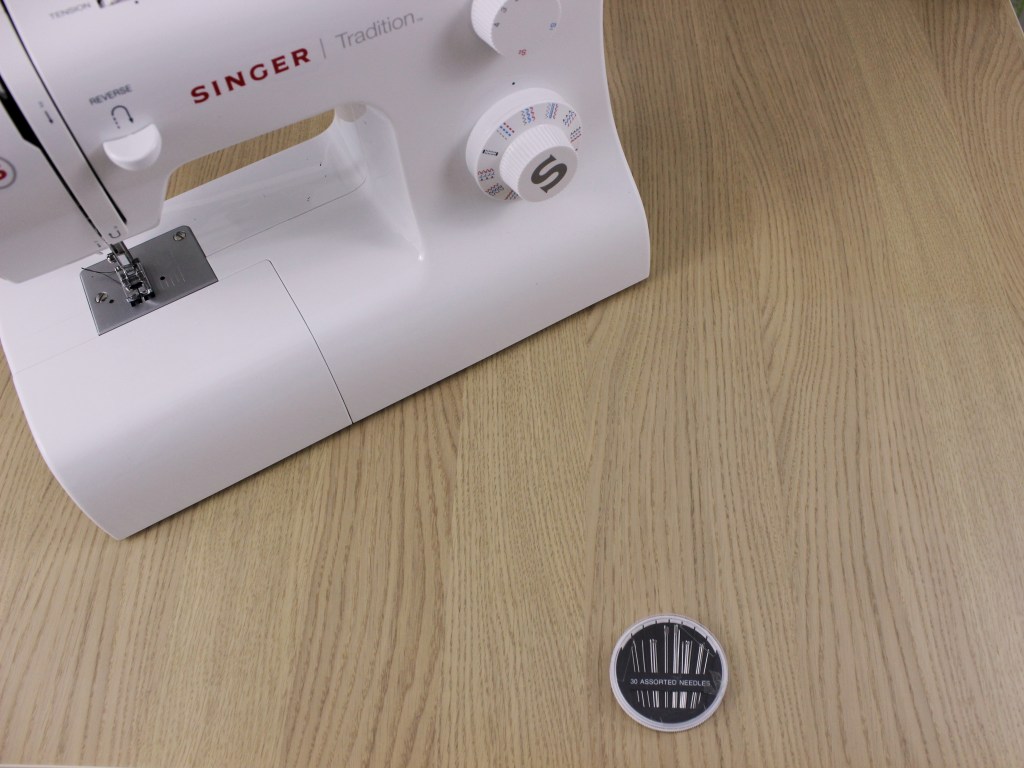
2. Needle and a needle threader
Sewing machines are awesome, but hand-sewing definitely still has its shining moments. Hand sewing is great for mending, decorative elements, and small details that a sewing machine sometimes can’t tackle, so having hand-sewing needles and a needle threader are essential.

3. Seam ripper
The most heroic tool in your sewing arsenal, a seam ripper is a MUST. In times of trouble, a seam ripper will always be there to help you undo your mistakes so you can fix them before anyone notices. No one enjoys having to rip out their hard-sewn seams, but a seam ripper will do it like no other. And aside from undoing your mistakes, it’s also great for upcycling when you need to take something apart.
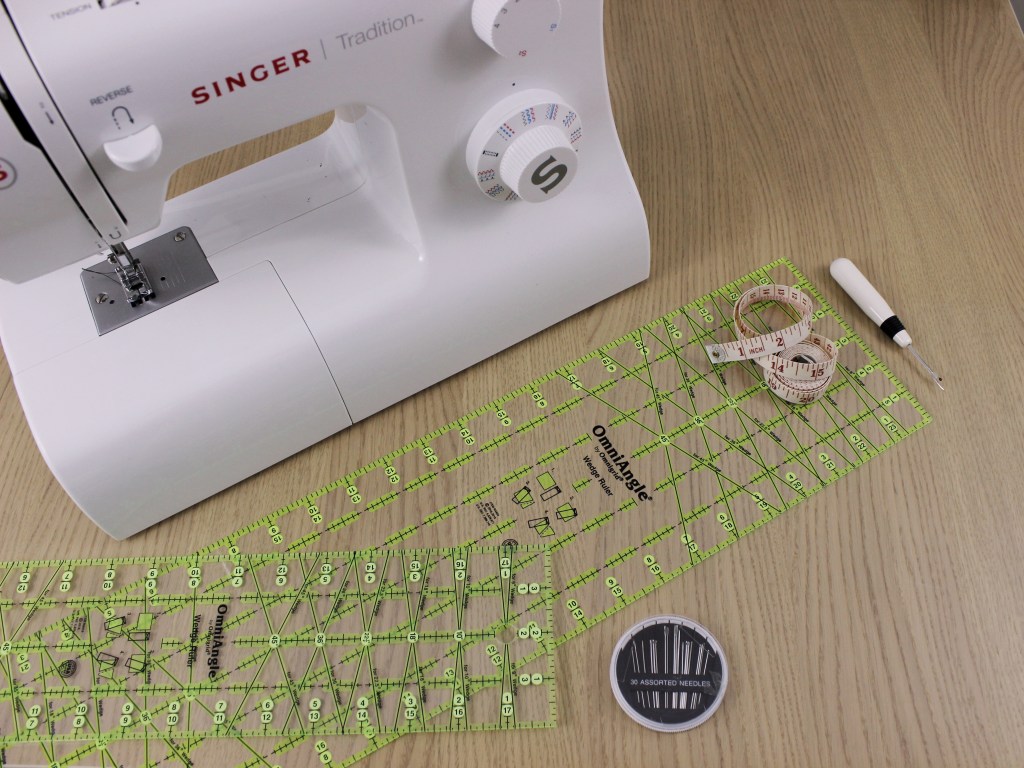
4. Measuring tape and ruler
Whether it’s a piece of fabric or a body measurement, of course you need a measuring tool. In addition to a standard measuring tape, I also invested in quilting rulers that are just really wide rulers with inch markings along all sides. They’re a little on the pricier side, but incredibly useful for doubling as a measuring tool and a straight edge for marking or cutting fabric.

5. Sewing pins
Sewing pins hold everything together, your sanity included. If it’s pinning a pattern/template to fabric, pinning your pieces together in preparation for the sewing machine, pinning a hem, or just keeping things together, sewing pins will be your best friend. When you’re dealing with thicker stacks of fabric or a corner where pins just aren’t doing the trick, you can opt for some sewing clips or a good old bulldog clip to hold it together.
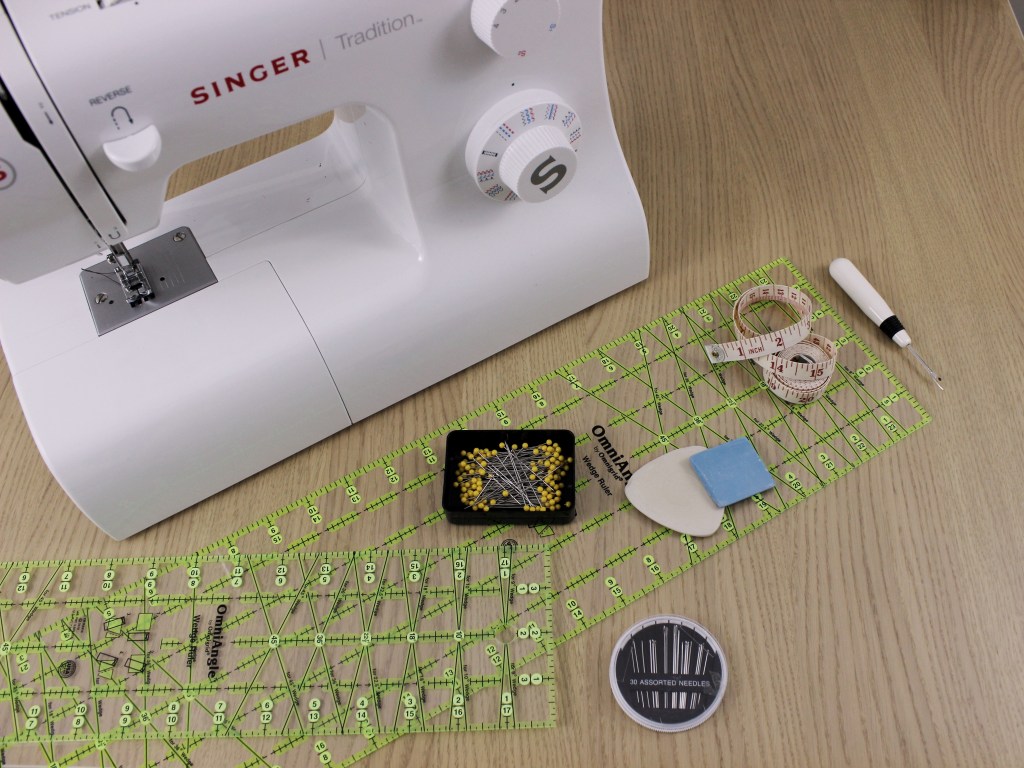
6. Tailors chalk
If fabric is your paper, then tailor’s chalk is your pencil. It’s a staple for marking your fabric whenever you need. In this category there are a lot of variations you could use, including a fabric pencil or a disappearing ink pen, just be sure to check the removability of the markings (water or air soluble), and maybe get it in more than one colour to cater to the fabric you’re working with.
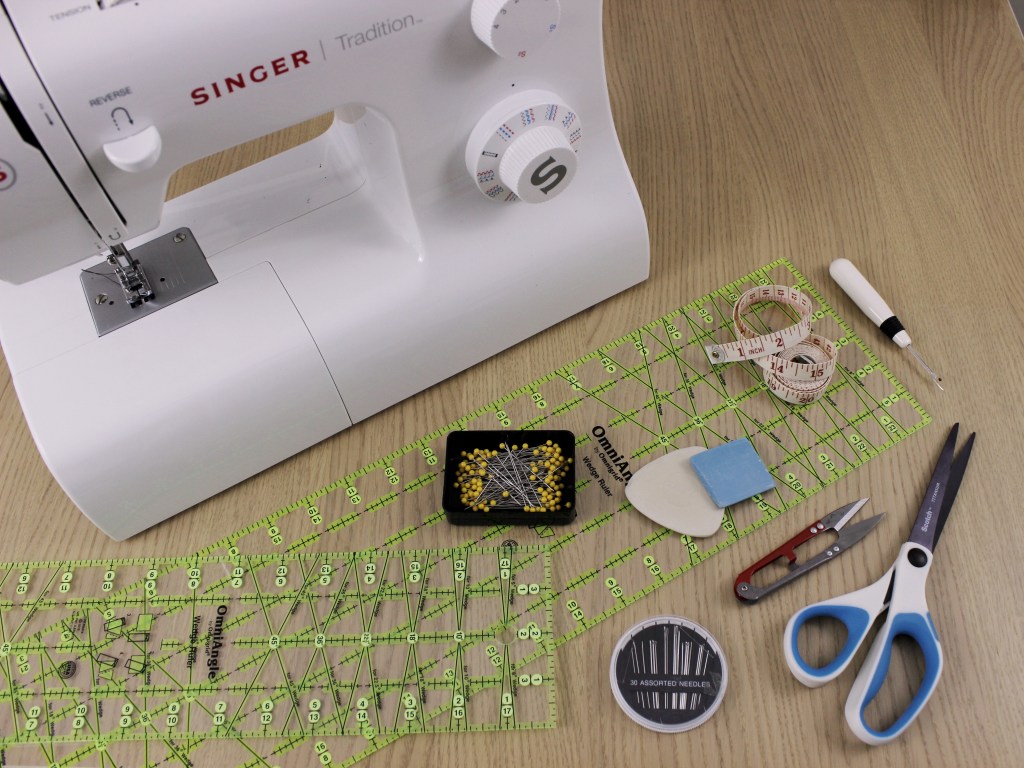
7. Scissors
When you’re cutting fabric, you want a sharp blade and clean lines, so it’s best to set aside a sharp pair of scissors specifically for fabric. I also keep a smaller pair of scissors on hand for cutting threads as I sew, but those can very much be a pair of household scissors to start.
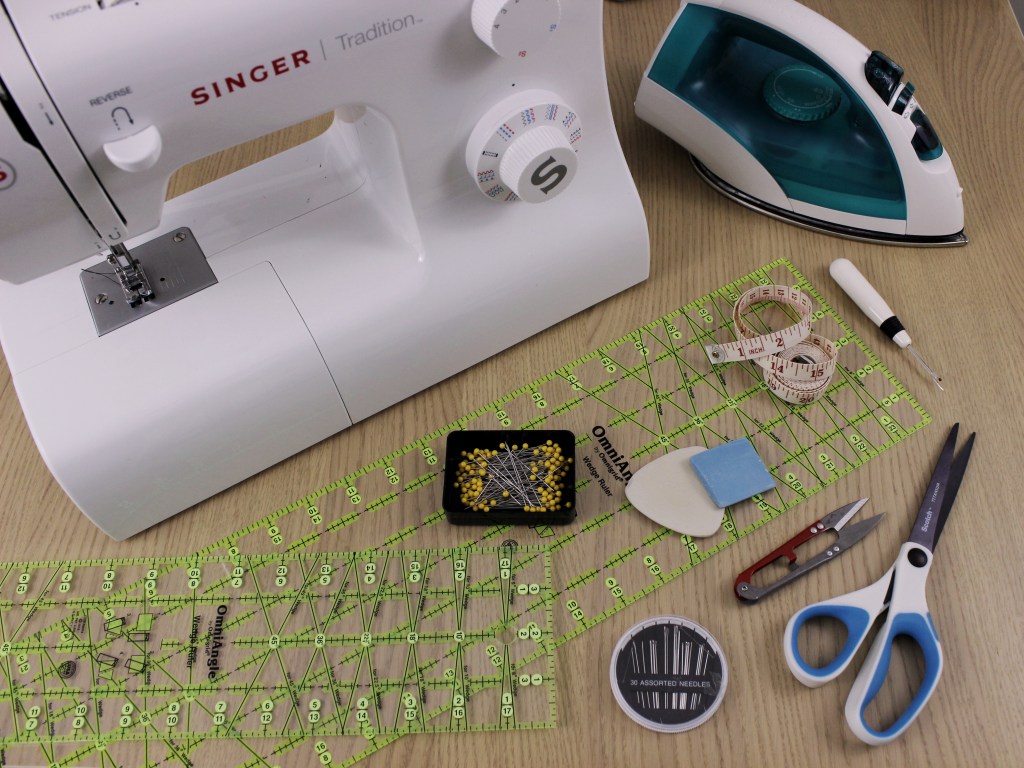
8. Iron and ironing board
Pressing out your seams makes A WORLD of a difference when finishing your pieces. In addition to removing wrinkles in your fabric, using an iron to create a nice crisp hem or press your fabric before top stitching will make your life easier and really level up your sewing game.
Alright we made it! Although these are just the essentials, the more you sew the more you’ll find other tools out there that are useful to have. Some of these include a rotary cutter and cutting mat (an alternative and arguably quicker way to cut fabric), a loop turner (for inverting long tubes of fabrics when making straps for example), and a bias tape maker (folds a strip of fabric into bias tape of a specified width). These are some of the additional tools that I’ve acquired over the years to help make projects easier, but are not always necessary when just starting out. All this to say, the world of sewing equipment and tools is massive, but you don’t need one of everything to get going 🙂
