Let’s start it off with something sweet and simple—pillowcases for a cause. I recently started volunteering for Comfy Cases, a non profit organization that delivers fun and colourful pillowcases to children in hospitals across Canada. As a volunteer, I’m basically responsible for sewing these lovely pillowcases for hospitals in a given region. As simple as a pillowcase is, I’ve actually never sewn one before and thought this was a great opportunity to learn something new while giving back to the community. So, let’s get to making some pillowcases, shall we?
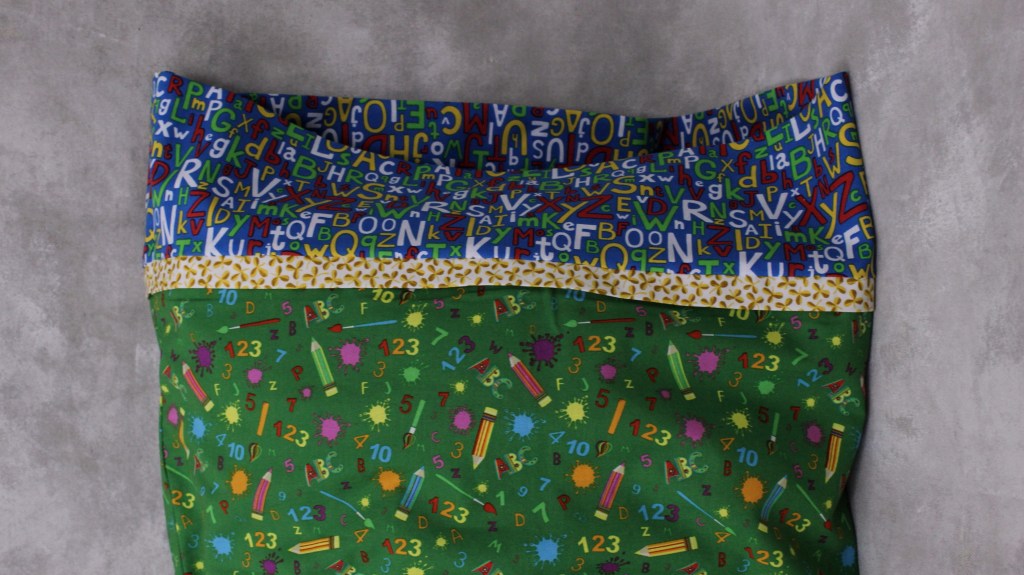
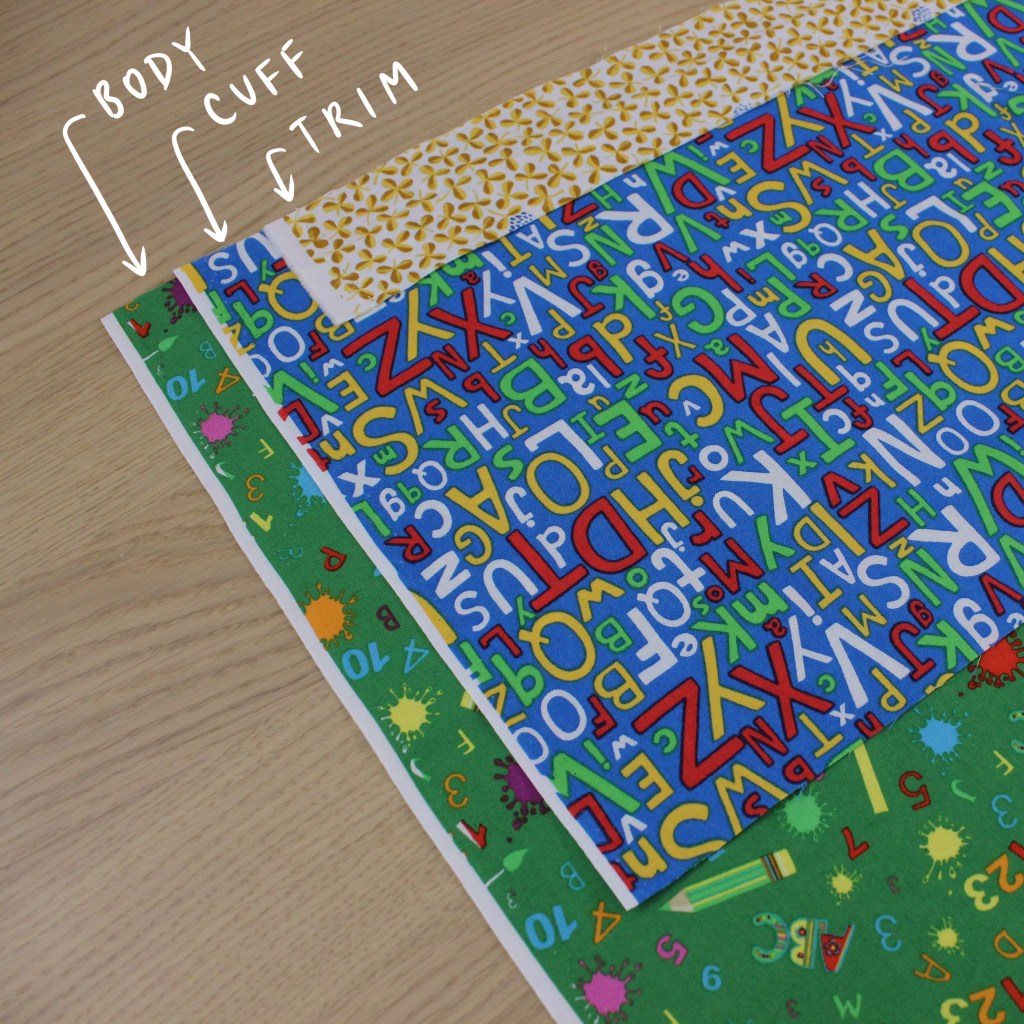
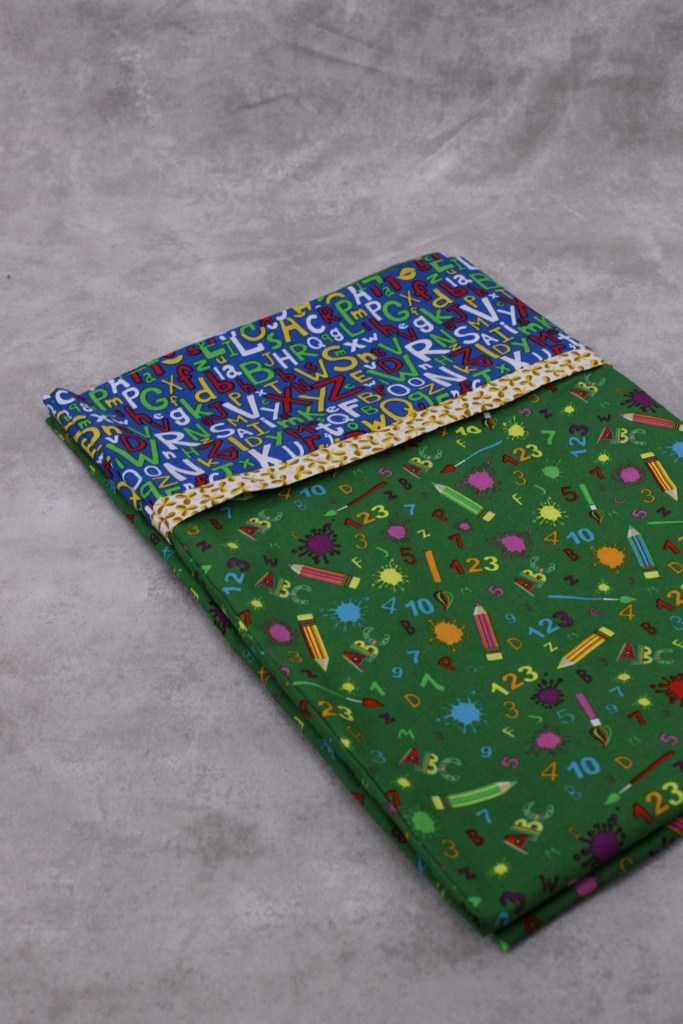
For supplies, besides the staples, you’ll just need some fabric and matching thread. In this case, the fabric is made of 100% cotton and is provided by the designated person for my area. This type of pillowcase consists of 3 parts—a body, a cuff, and a trim piece—where each piece can be made of the same or different colour/patterned fabric, as shown below. For exact measurements, this pillowcase has a body piece that’s 27″ x 45″, a cuff piece that’s 9″ x 45″, and a trim piece that’s 2″ x 45″. We’ll finish off these seams with a French seam, and add in a Comfy Cases label too.

To construct this pillowcase we’ll be using the tried and true burrito method. You’ll see why it’s called this once we get into it, but for your own reference here’s a quick tutorial.
Okay! Ready? Let’s get started.
1. Take the trim piece over to your iron, fold it in half lengthwise so that the width is now 1″, and press.

2. Align and stack the raw edges of all 3 pieces along the long edge with right sides facing up, in the order of trim, body, and cuff from top to bottom.

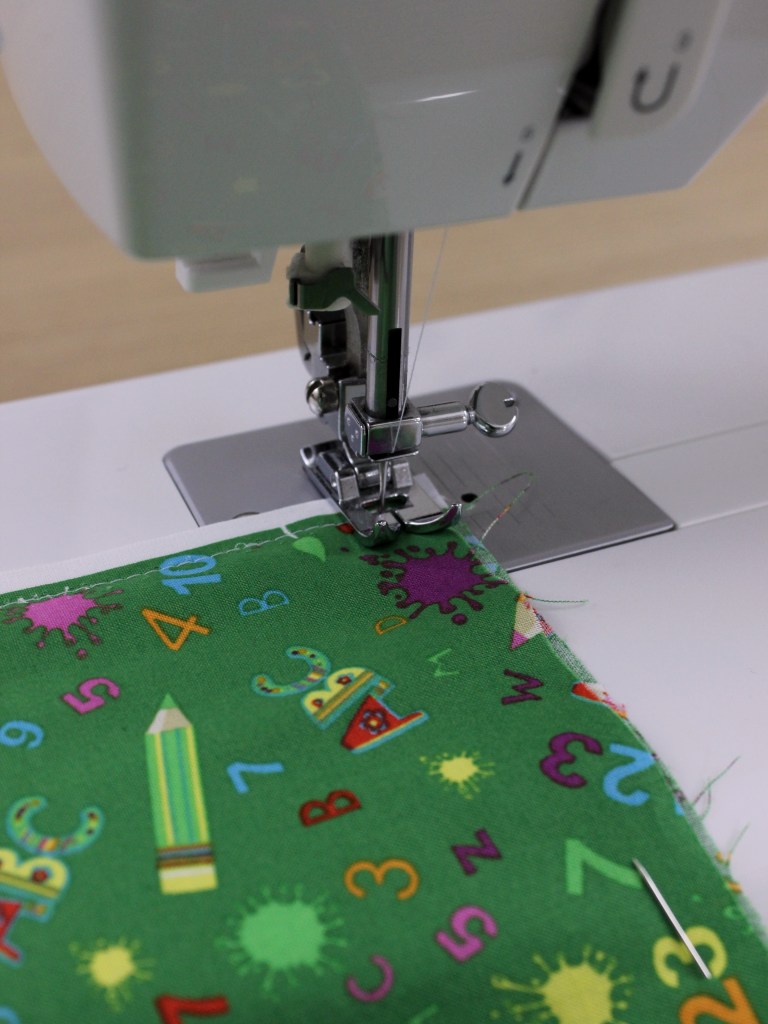
3. Now we get to the burrito part. With the stacked long edge closest to you, starting from the opposite side, roll your body fabric towards you until you’re able to fold the cuff piece over the rolled body piece to align with the long edge. Pin the folded over cuff and additional layers along the long edge and head over to the sewing machine.


4. Straight stitch along the entire long edge with 1/4″ seam allowance so that you essentially have a fabric burrito.


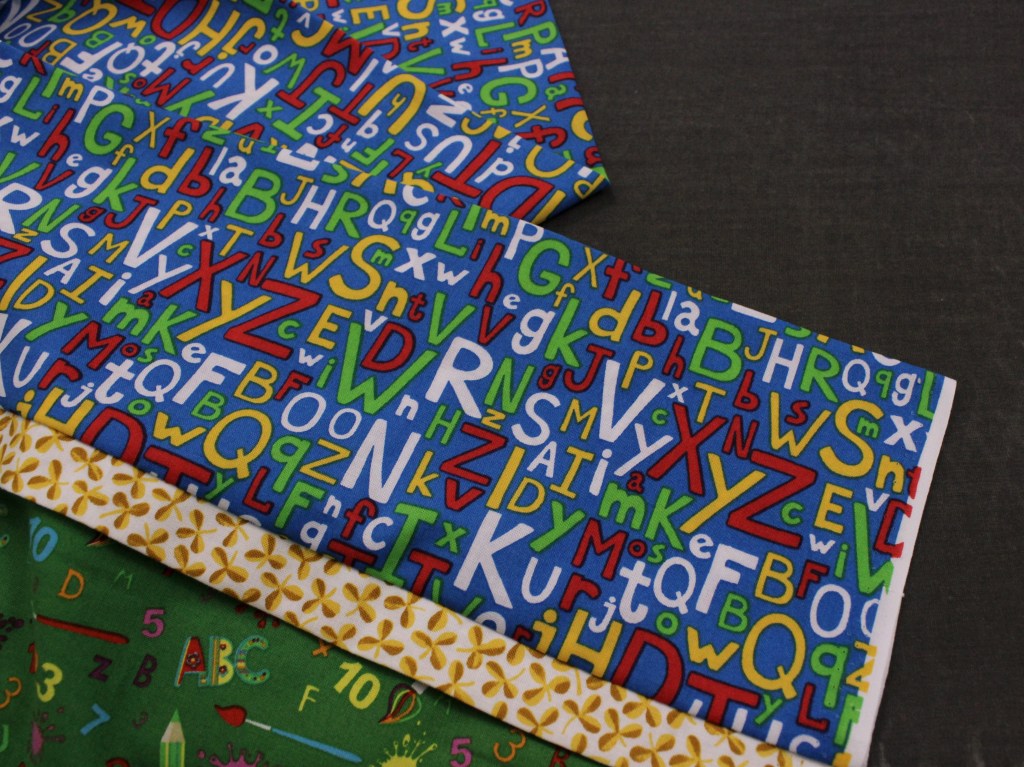
5. Fold back the cuff piece on one side of your burrito and pull your rolled up body piece out of the burrito wrap until the entire wrap is unrolled. Give the new cuff a nice press.


Essentially at this point, if you folded your now deconstructed burrito wrap in half along the short edge with right sides facing each other, sewed along the open edges, and turned it inside out, you’d have your pillowcase. But to make this a little cleaner and more professional with no visible raw edges, we’re going to add a few extra steps to do a French seam. The idea of a French seam is that you’re hiding your raw edge within another seam. If this sounds confusing, not to worry, it’ll all become clear in the next few steps.
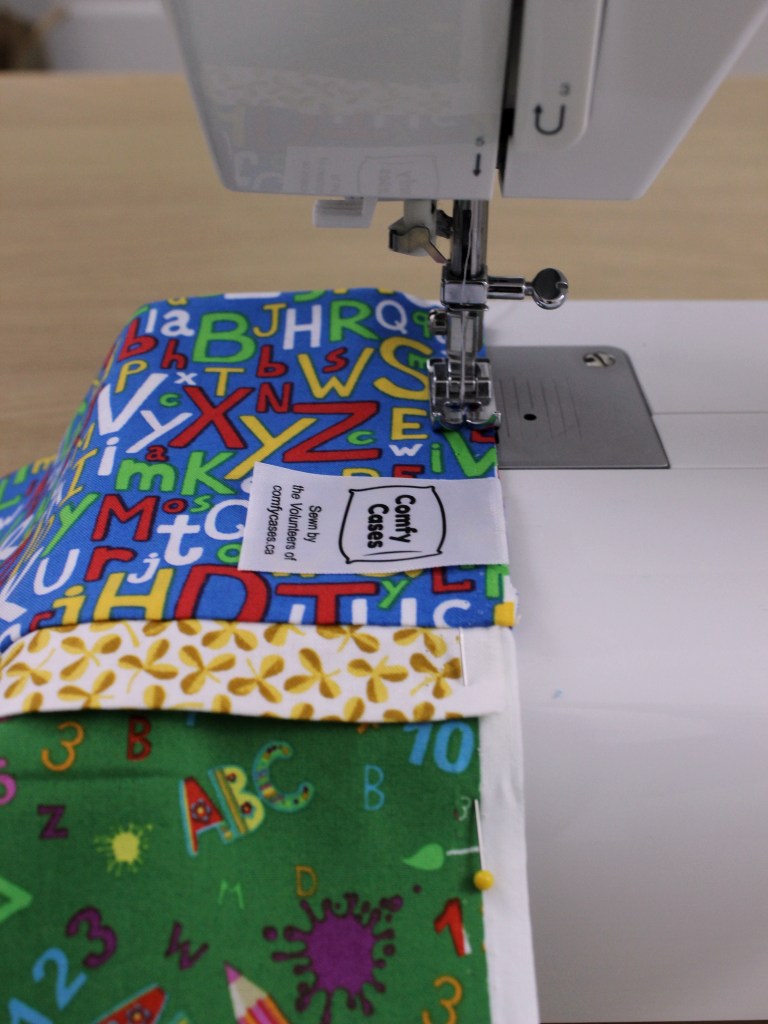
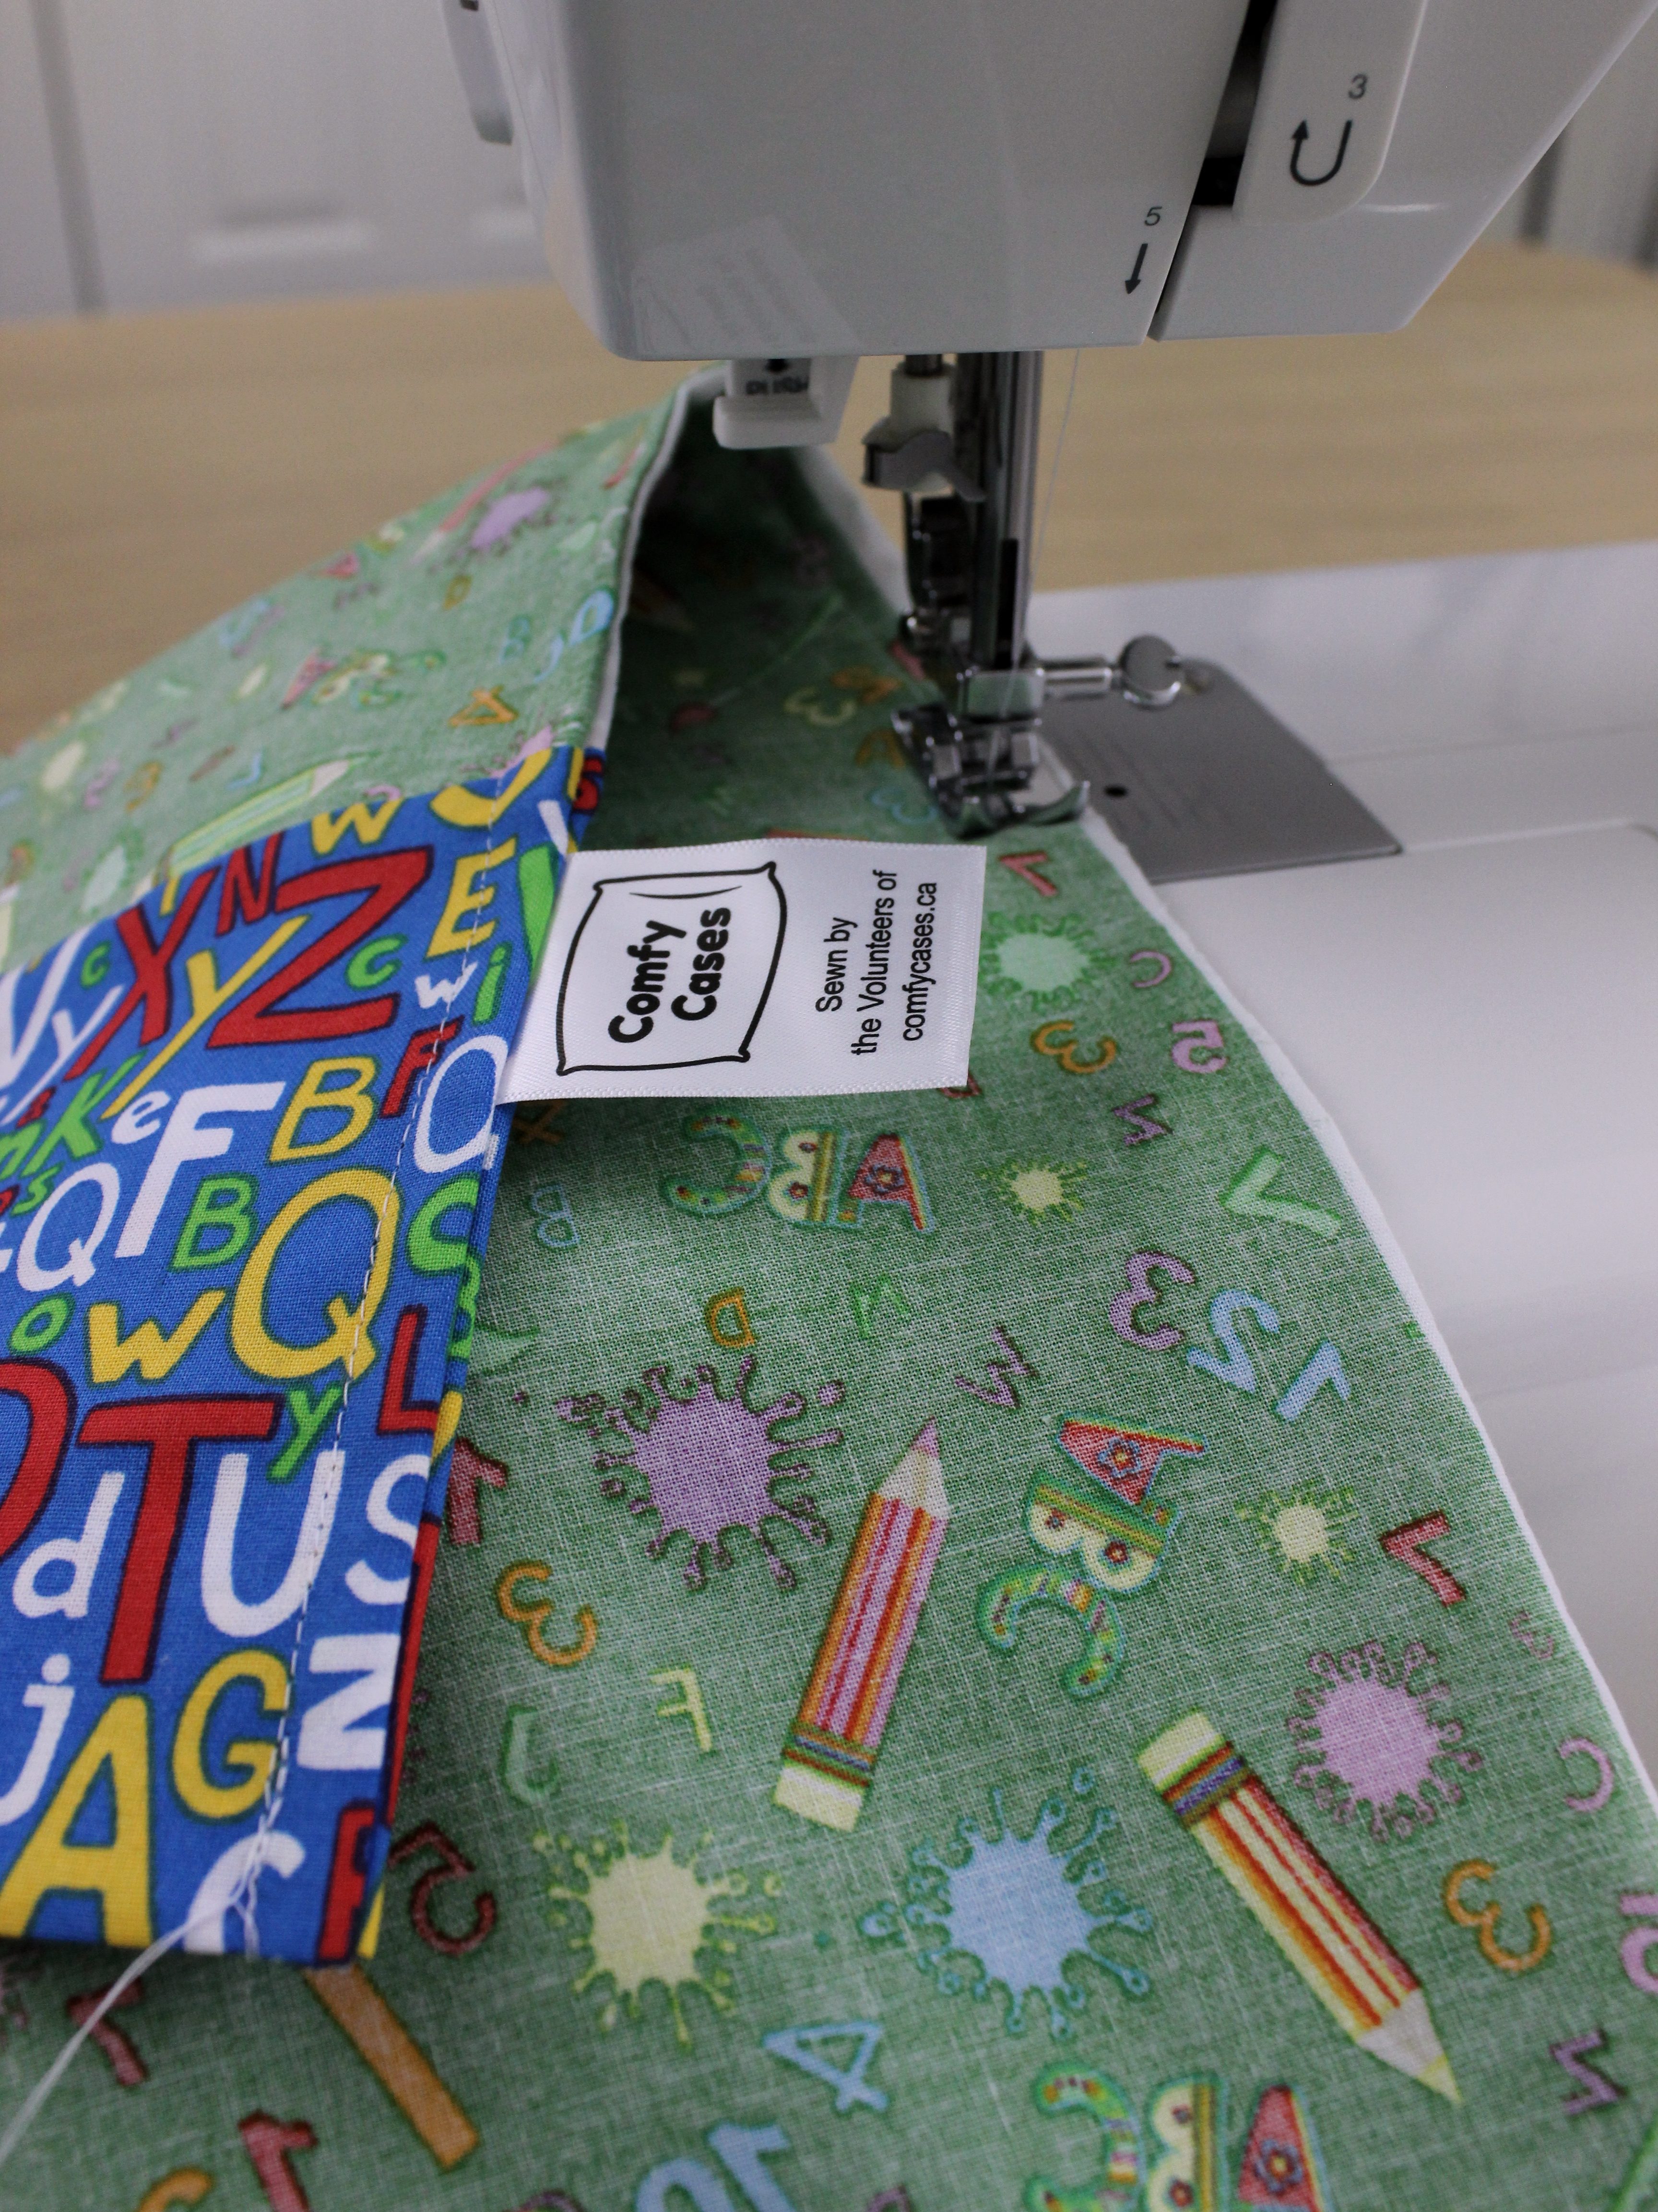
6. Rather than folding your deconstructed burrito wrap in half right sides together, fold it in half along the short edge wrong sides together. At this point, we’ll also line up the Comfy Cases label in the seam of the cuff. I’ve overlayed it on top to reference the position, but the label will be sewn on the inside sandwiched between the wrong sides of the fabric. From here, sew along the 2 open edges using a straight stitch with 1/4″ seam allowance.

7. Cut along your raw edge so that it’s between 1/8-1/4″. This will be useful for later.
8. Flip your almost-pillowcase inside out, pressing around the seams that were just sewn.

9. At this point your fabric is a sleeve with right sides facing. This next step is the second half of the French seam, where we’ll hide our raw edges within another seam. Having cut the first raw edge down to less than 1/4” (Step 7), sew along the 2 sides just previously sewn again with 1/4-3/8” seam allowance. Essentially your raw edges will now be sealed within this second seam, with no raw edges remaining. Viola, you have a French seam!

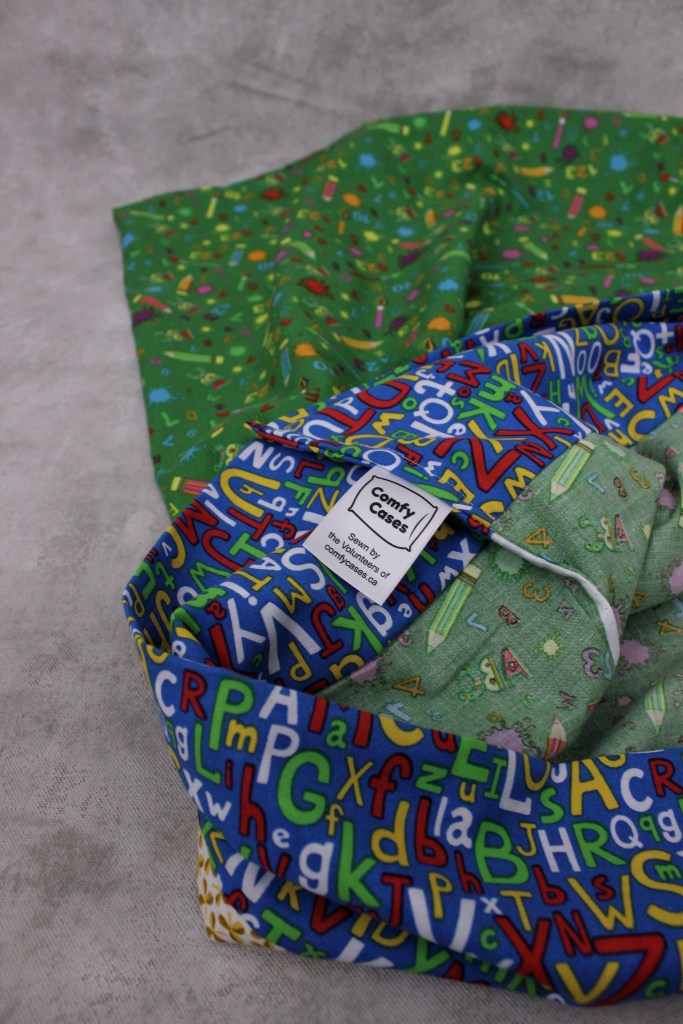
10. Last but not least, flip your now-pillowcase inside out so that the right sides of the fabric are on the outside and the wrong sides are on the inside. Do one last press along the seams you just sewed and there you have it! A pillowcase all ready to go.


Now just repeat those steps for as many pillowcases as you need 🙂
Coming from someone with a more toned down colour palette, it was really fun making such lively and vibrant pillowcases. It’s great how customizable a pillowcase can be, from the design to the fabric type to the colourways, you can make them with some flare or none at all depending on what you’re into. You could make it with or without a trim to keep it simple, swap out the cotton with satin or silk for a more luxe feel, or even modify the size to accommodate varying pillow sizes. All in all, its up to you! I can’t wait for these pillowcases to find a new home.
