Back in 2020, I was looking to buy a tote bag for graduate school and noticed that none of the ones in stores ever had the right number of pockets. From the ones available, I’d get the sleek look, but lose out on the function I wanted. So, I decided to design and sew my own tote bag with some customade function. The idea was basically more pockets, both inside and out, so that instead of tossing everything into one big bag, I could compartmentalize my belongings better. This tote bag served me well while I was in school and still does to this day. Now 3 years later, I’ve decided to make the same one for my mom (with some upgraded skills) as a Christmas present—the tote bag 2.0 if you will.
This project post will be less tutorial and more process-sharing, just to show you all the components that went into this bag as an original design piece, and the steps taken to achieve all the wanted function while maintaining a clean look. Alright! Let’s get into it.
For supplies, I went with a 12 oz organic cotton canvas for durability in a khaki brown colour from Simplifi Fabric. Due to this fabric being more heavyweight, I also purchased matching Gütermann’s extra strong thread, and used a heavy duty needle (110/18) for my sewing machine. For the bag closure, I went with a magnetic clasp I purchased from the Sewing Supply Depot.
The design of this bag was inspired by the popular tote bag from Oak+Fort. It had useful outer pockets, but similar to many other common totes out there, it lacked inner pockets. With designing my own, the outer pockets resembled that of the Oak+Fort tote, with the addition of two inner pockets: one for smaller items (e.g., phone, card holder, keys), and one for larger items (e.g., book, notebook, iPad). A lot of simpler totes might not necessarily have any type of closure either, so as a personal preference, I went with a magnetic closure so I would be able to close the bag securely.


This bag is made up of 7 pieces of canvas:
- Front piece
- Back piece
- Front outer pocket
- Back inner pocket
- Front inner pocket
- Bottom
- Strap

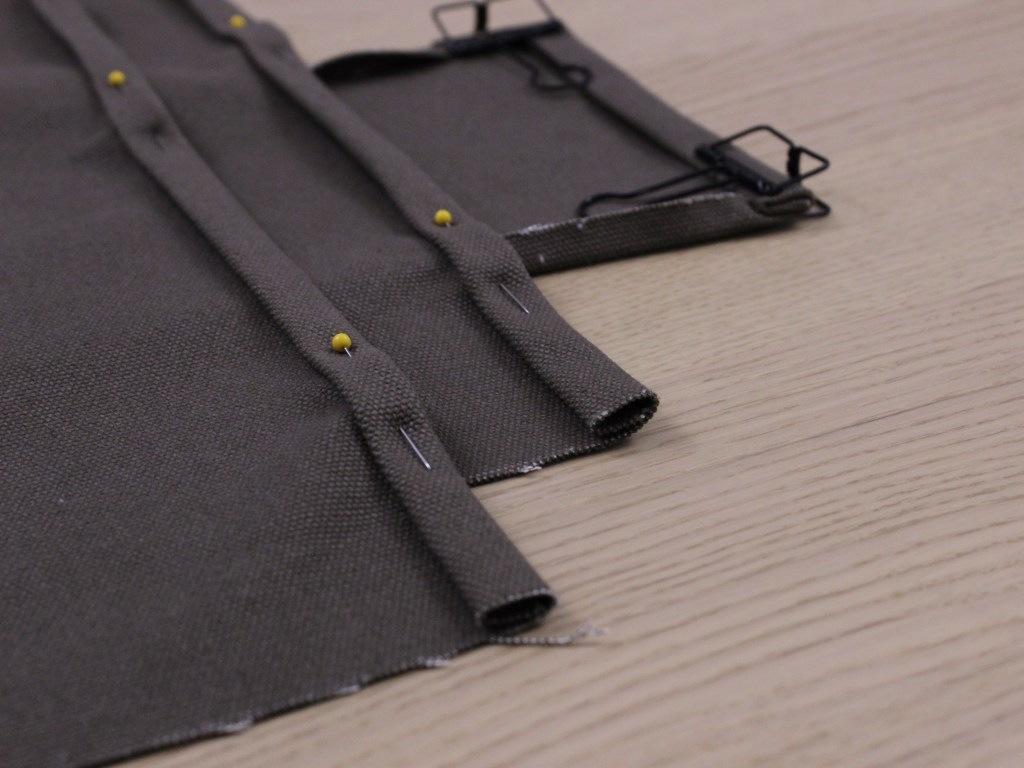
Before assembling these pieces and sewing this bag together, there was a bit of prep work to do on some of these pieces, namely the strap and pockets. The fabric for the strap was folded, pressed, and topstitched so no raw edges could be seen. You’ll notice I used bulldog clips as well as pins in some of the pictures; if I’m dealing with thicker pieces of fabric, I find bulldog clips easier to use to hold things together. Next, the top edges of all the pockets were folded over, pressed, and top stitched as well, creating a clean hem. I did a zig zag stitch along the raw edges of the front inner pocket before folding the edges over and pressing them with my iron. I only did this for the front inner pocket, since the raw edges of the other pockets will be hidden in the side seams of the bag (more on this later).


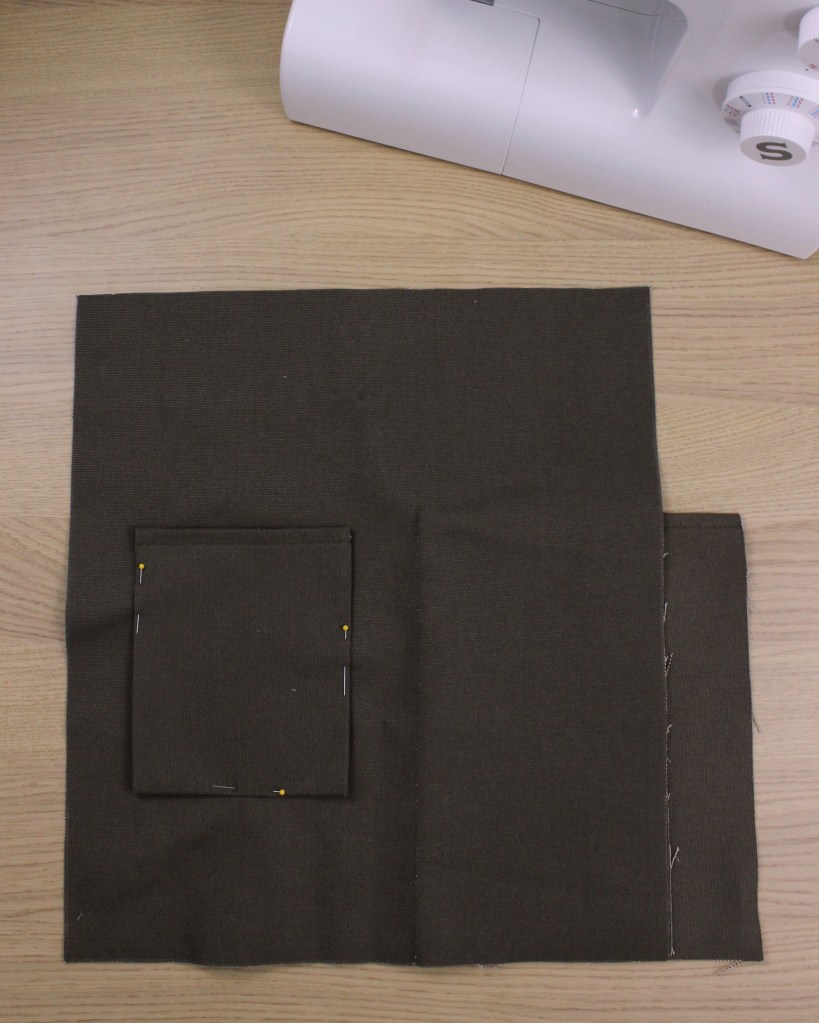
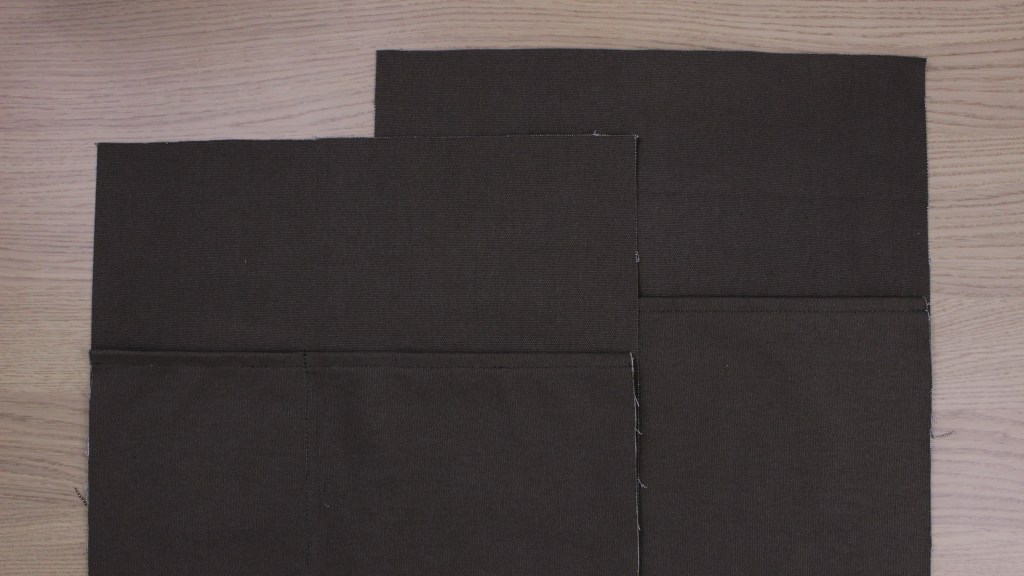
Now we can start assembling! First, I started with sewing together the pieces that would make up the front and back panel. To simplify the overall construction of this bag, the front outer pocket and back inner pocket essentially span the width of the bag, meaning the side seams of the pockets and the side seams of the bag itself are the same.
In putting together the front panel, I attached the front outer pocket to the front piece by sewing along the line that would divide the front outer piece into two pockets. I attached the front inner pocket to the reverse side of the front panel by sewing along the side and bottom edges. To prevent any visual stitching from the front inner pocket to be seen on the outer front of the bag, I positioned the inner pocket so that it would be hidden behind the outer pocket.


No additional sewing was needed for the back panel since the back inner pocket would be one pocket spanning the width of the bag (aka, it’ll be attached along the side seams of the bag later). Now you can see both front and back panels of the tote coming together.
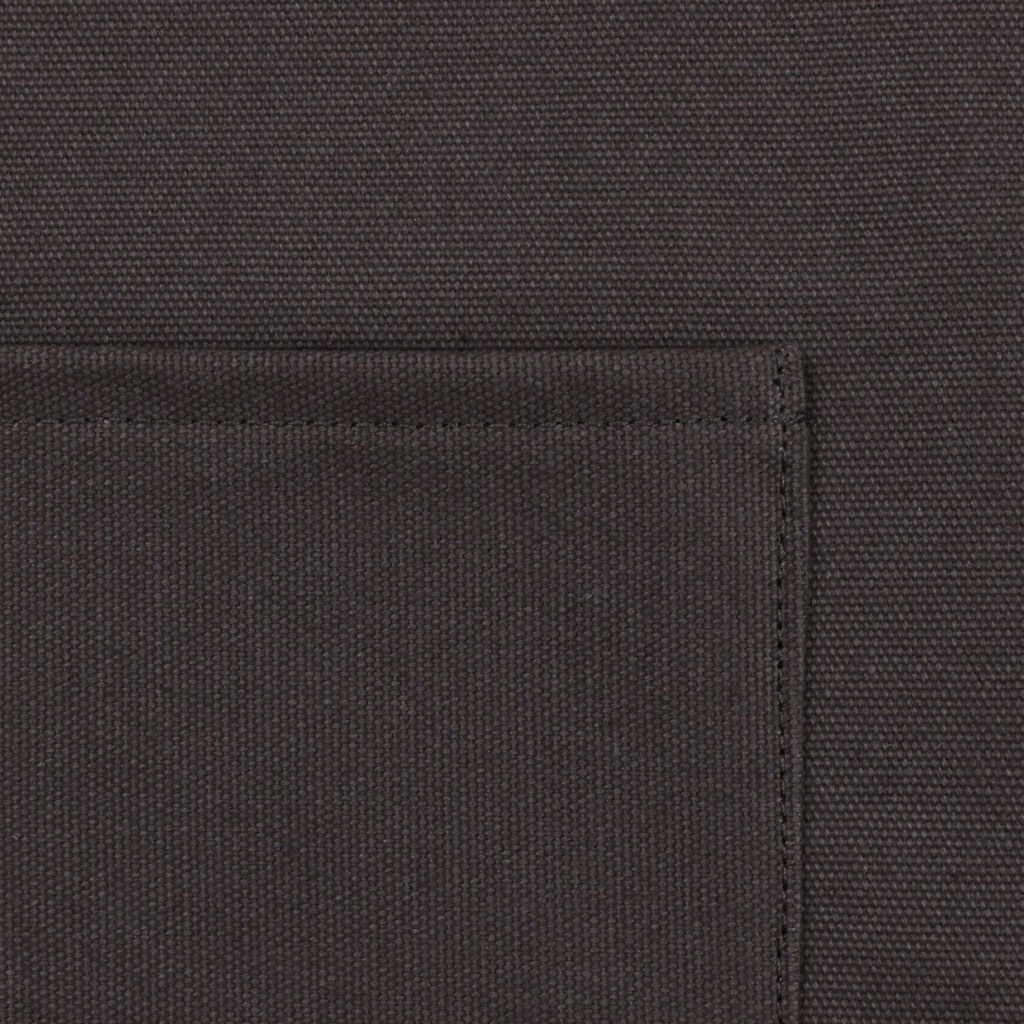
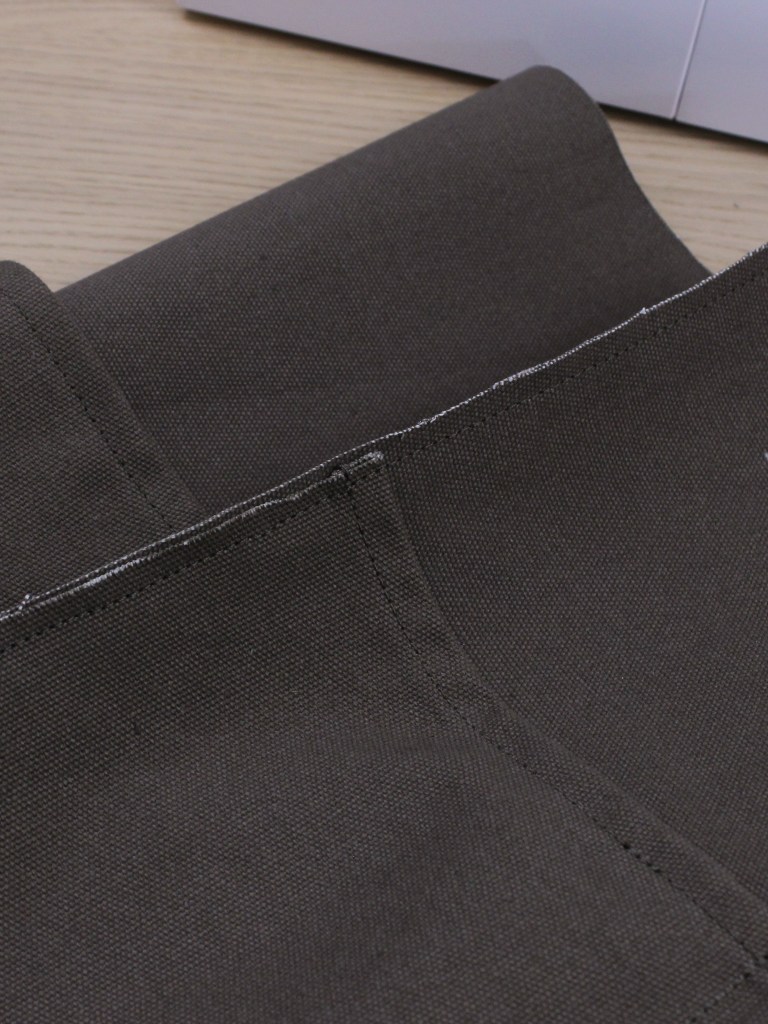
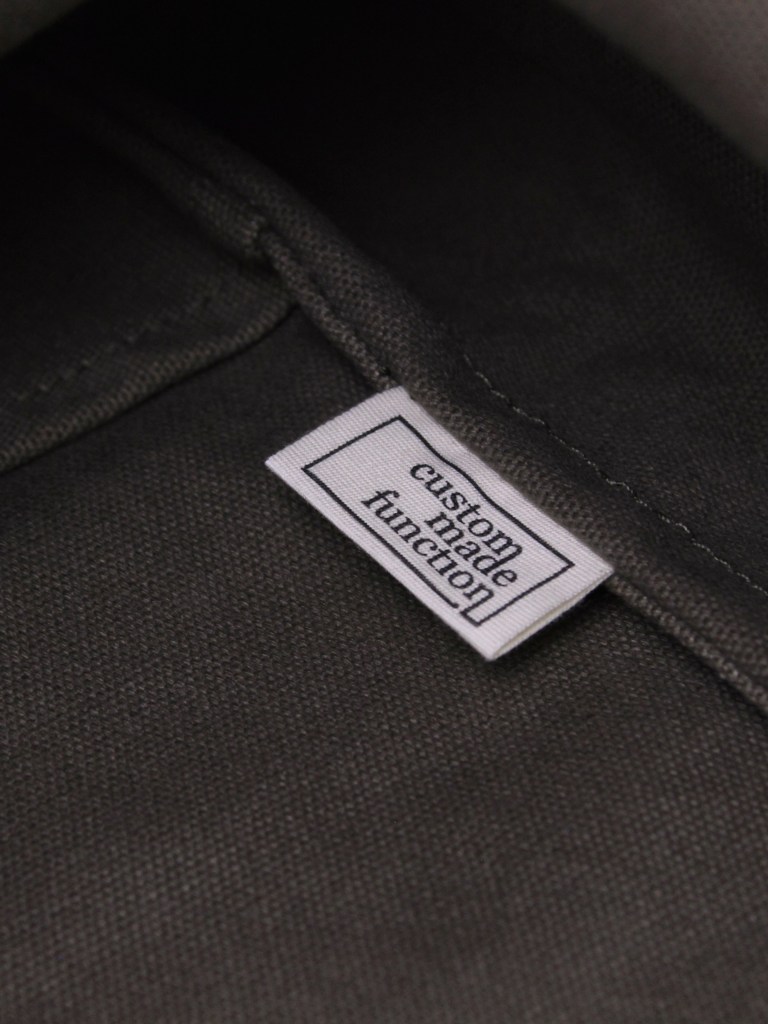
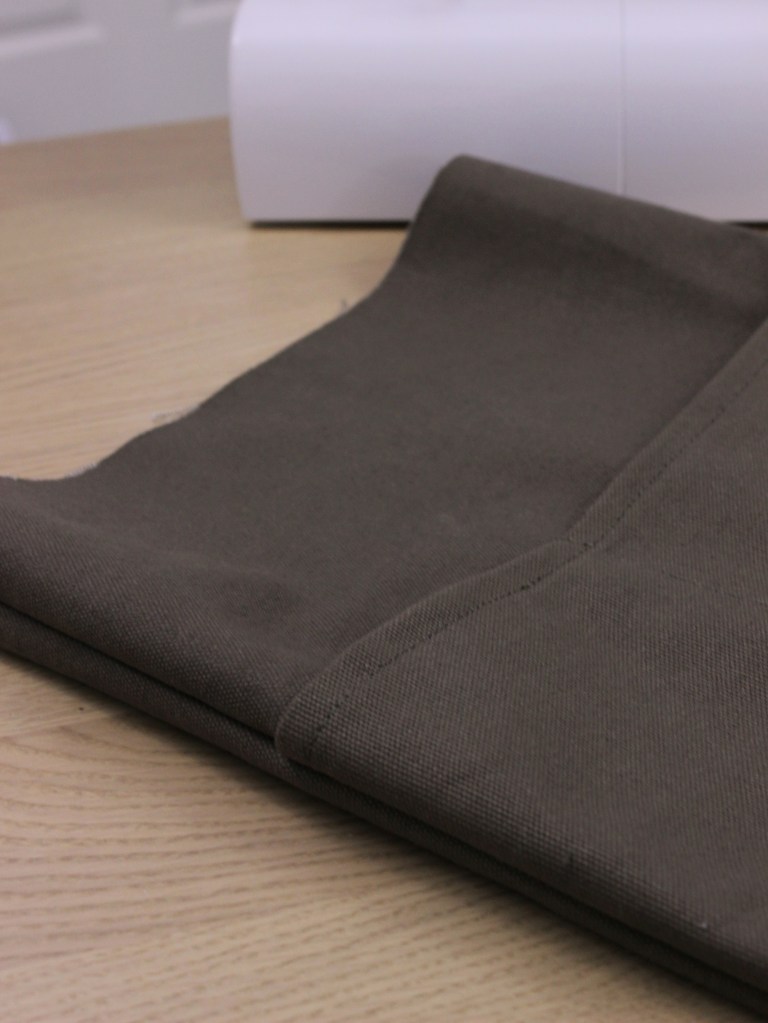
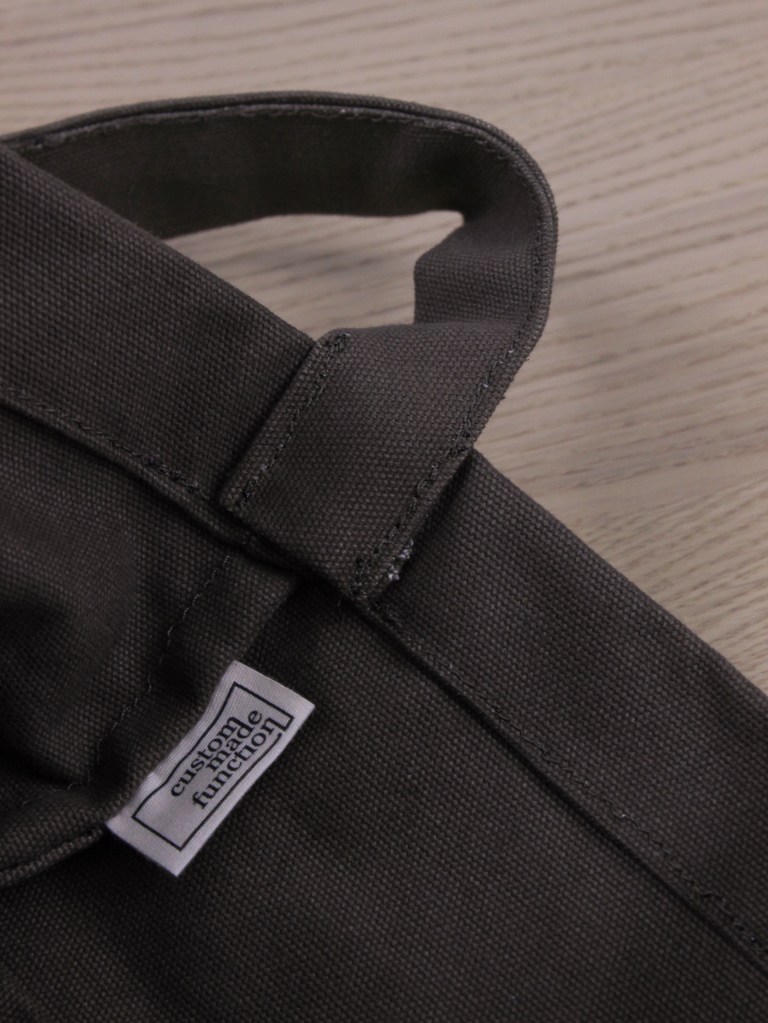
Here’s where we go from 2D to 3D and sew the front and back panels together to make a tube. I did a French seam for the side seams to keep it tidy, and even sewed the first of many new fabric labels into the seam! For a quick refresher on a French seam, I sewed the front and back panels wrong sides facing together, flipped the sewn pieces inside out, sewed the panels right sides facing together, and flipped it inside out again, hiding the initial first seam inside a second seam.
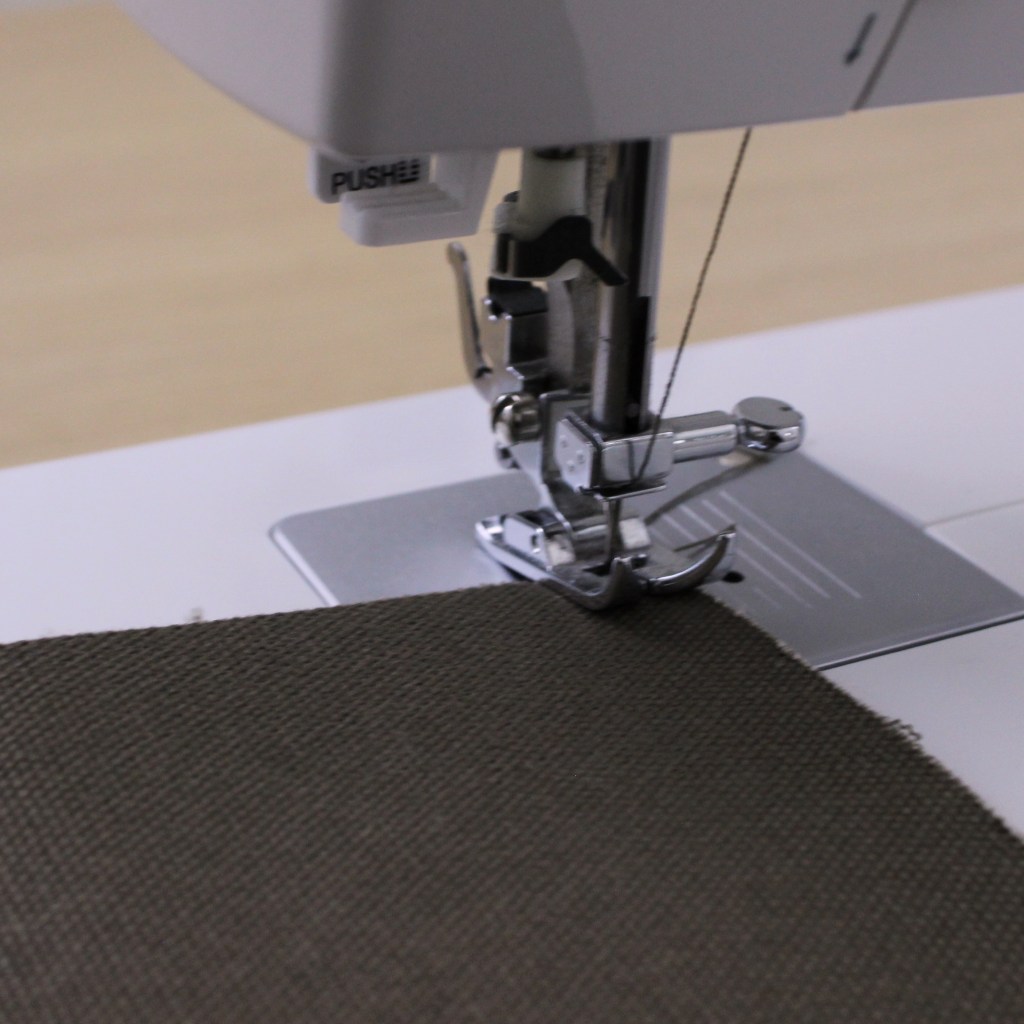
A little aside when running thicker layers of fabric through the sewing machine. You’ll notice that the foot is not levelled when the fabric is initially positioned. This can make it tougher for the machine to move your layers of fabric through the machine because of the extra push it needs to also level out the foot. A trick to this is simply putting a scrap piece of fabric underneath the back of the foot so that it can be levelled. This way, the sewing machine will encounter less issues when sewing through the layers of fabric to start.

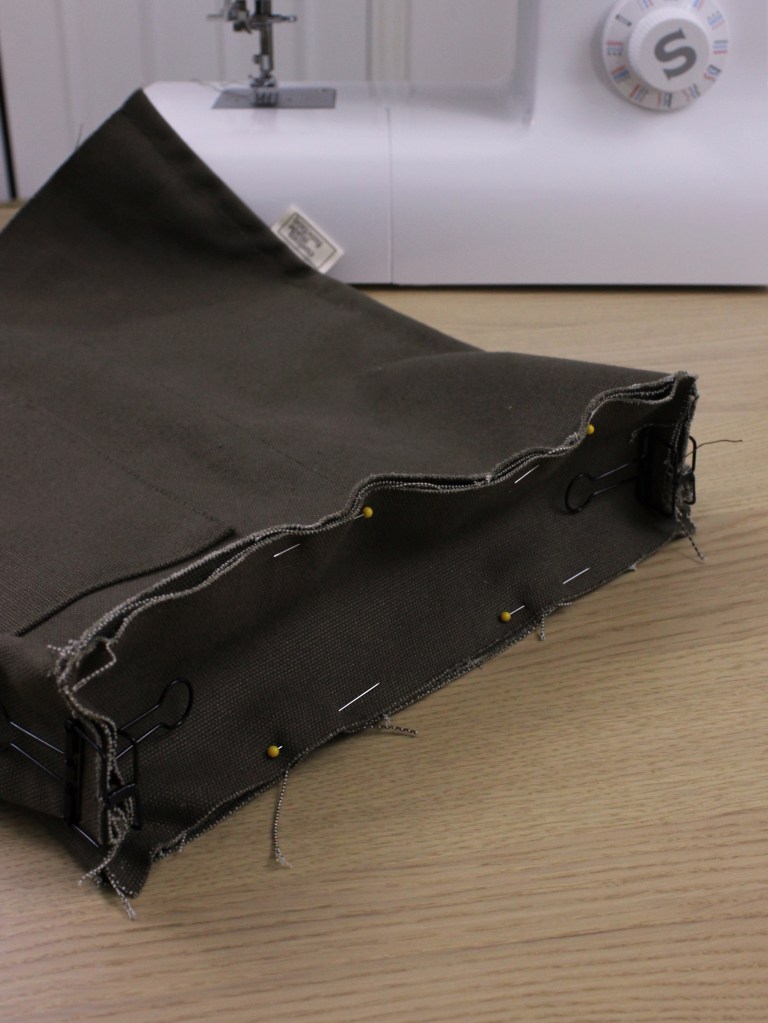
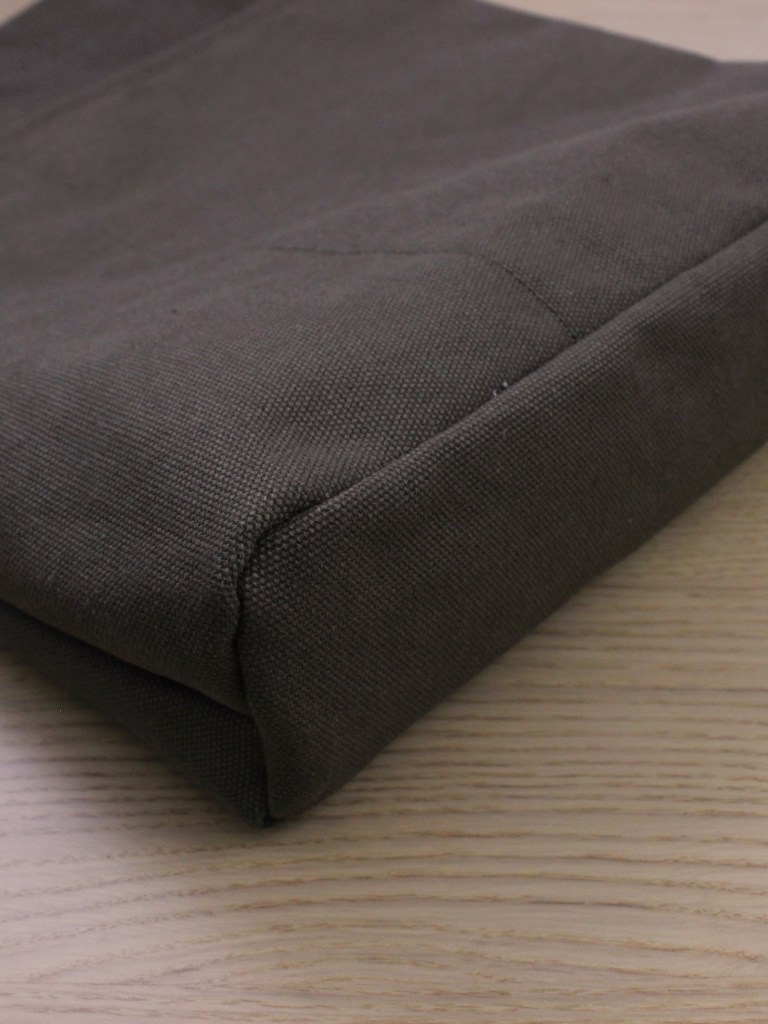
From here, I attached the bottom panel of the bag to the tube formed by the front and back panels in the previous step. Due to the thickness of layers here, I used a combination of sewing machine and hand sewing to get around the corners and side seams, and finished the raw edges with a zig zag stitch.

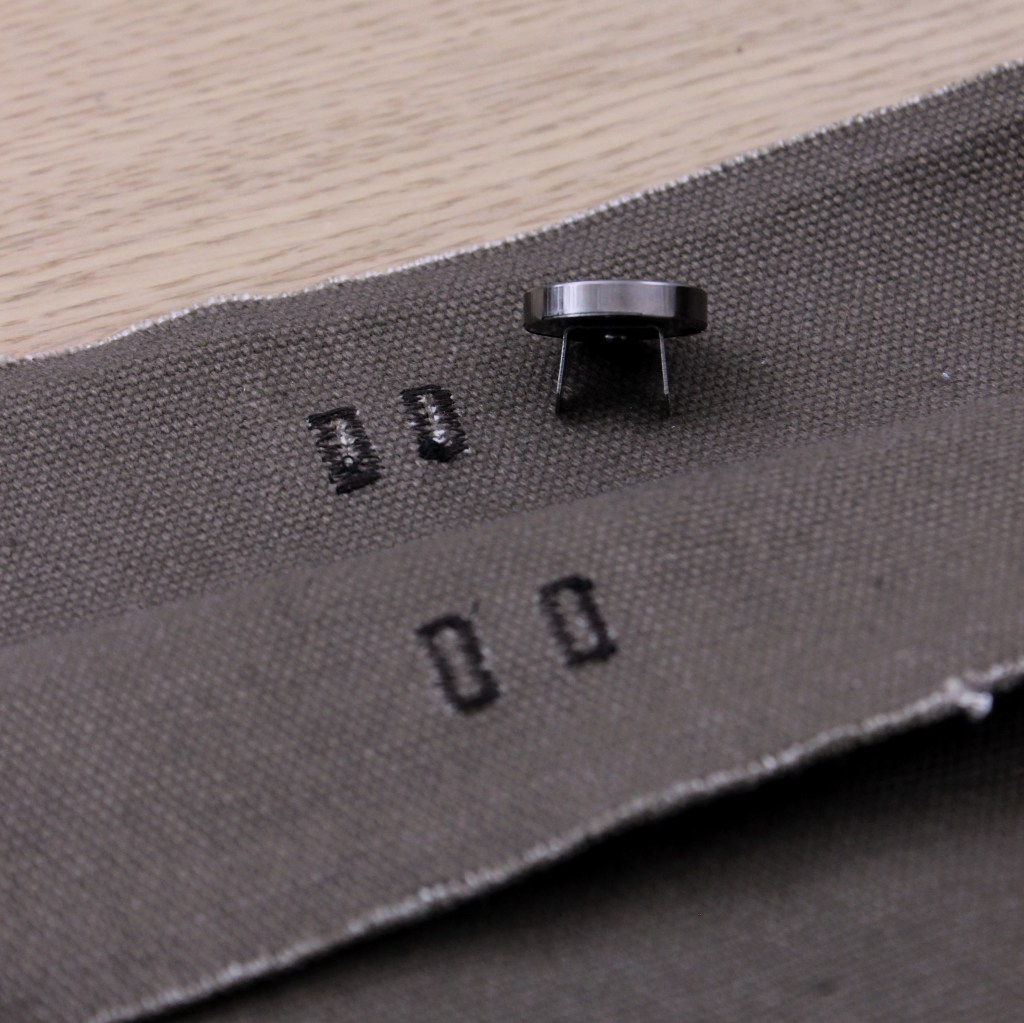
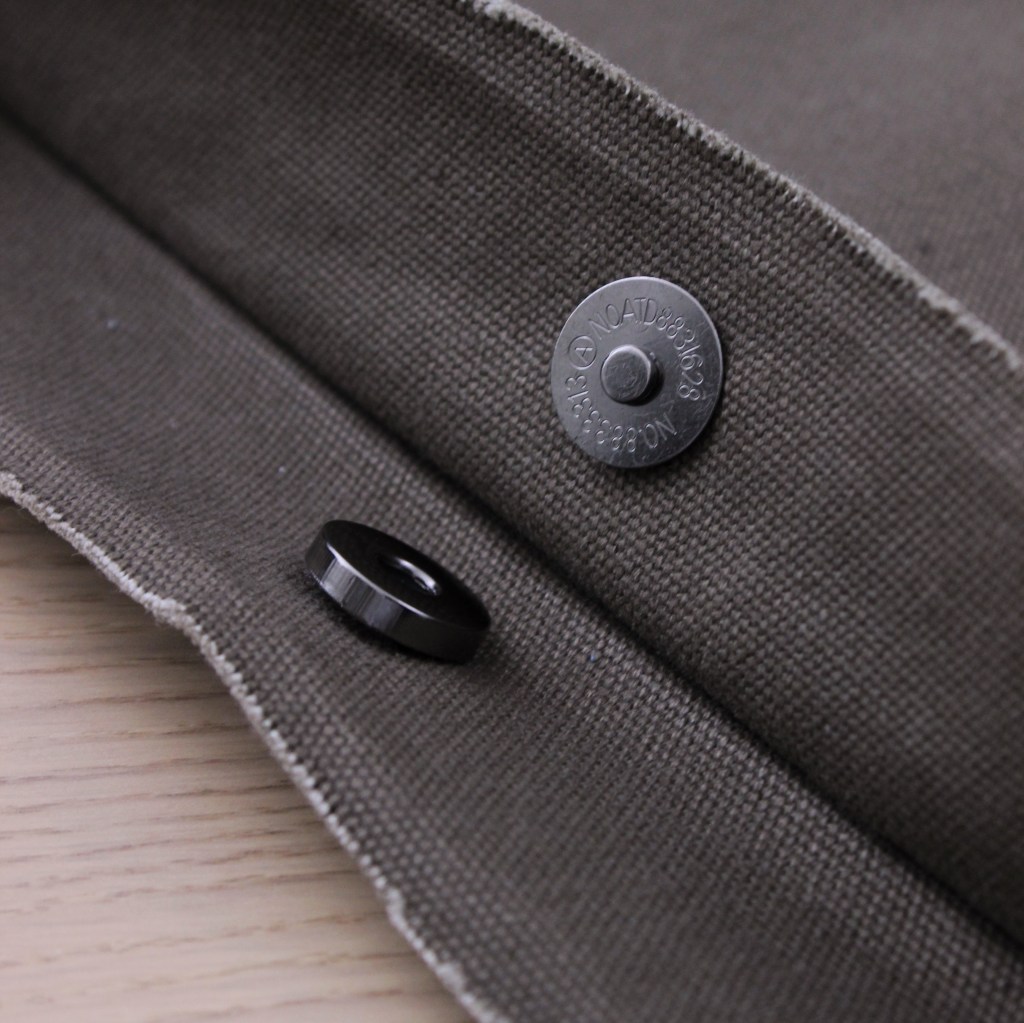
You can really see the bag taking shape now. Next, I tackled the opening of the bag and the magnetic clasp. You can see that the back of each magnetic clasp piece contains two prongs. These prongs go through the fabric and are flattened outwards on the other side to hold it in place. To position these clasps, I basically marked the center of the bag widthwise, as well as where each prong would sit relative to the the centre point. With my first tote, I had just cut slits where the prongs would go, but this time I went with buttonholes for more reinforcement.
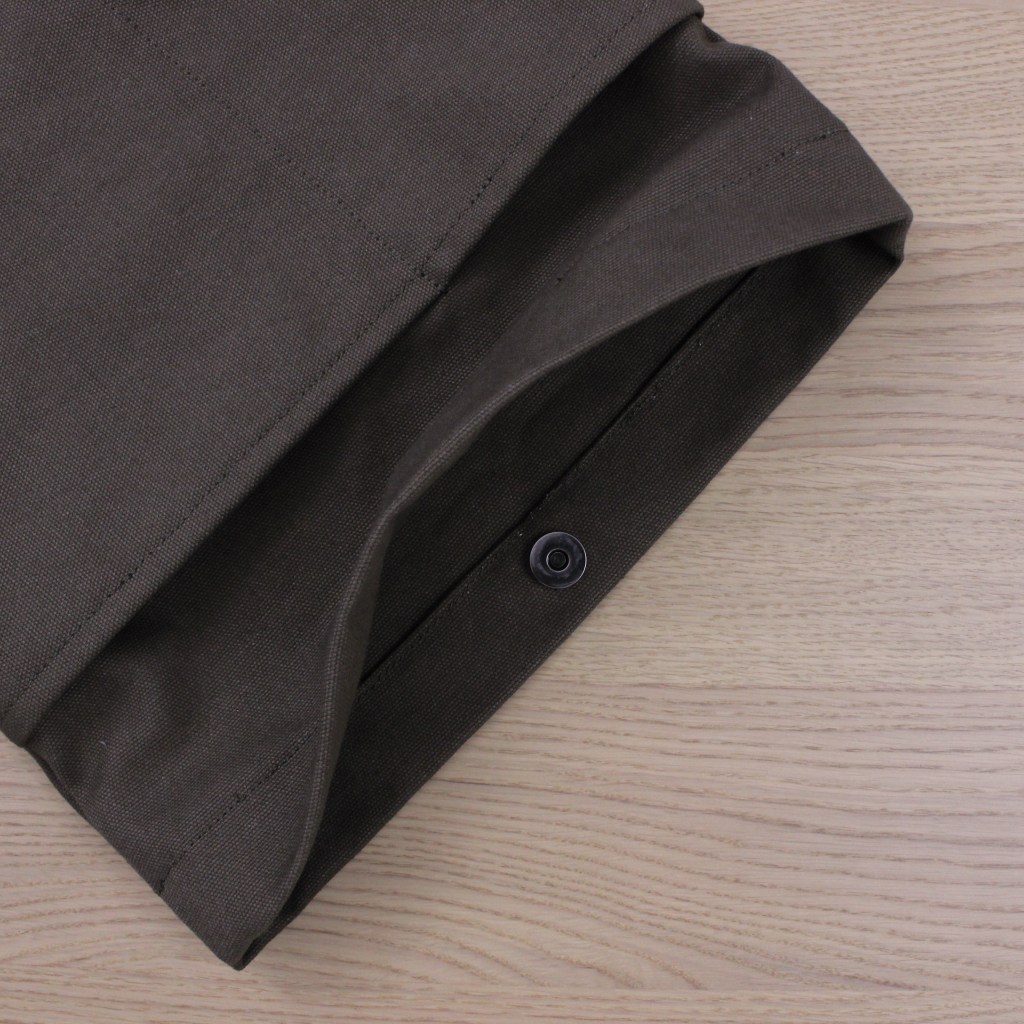
Once the magnetic clasp pieces were secured, I folded the opening of the bag inwards (magnetic clasp now sitting on the inside of the bag) and topstitched, essentially creating a hem.

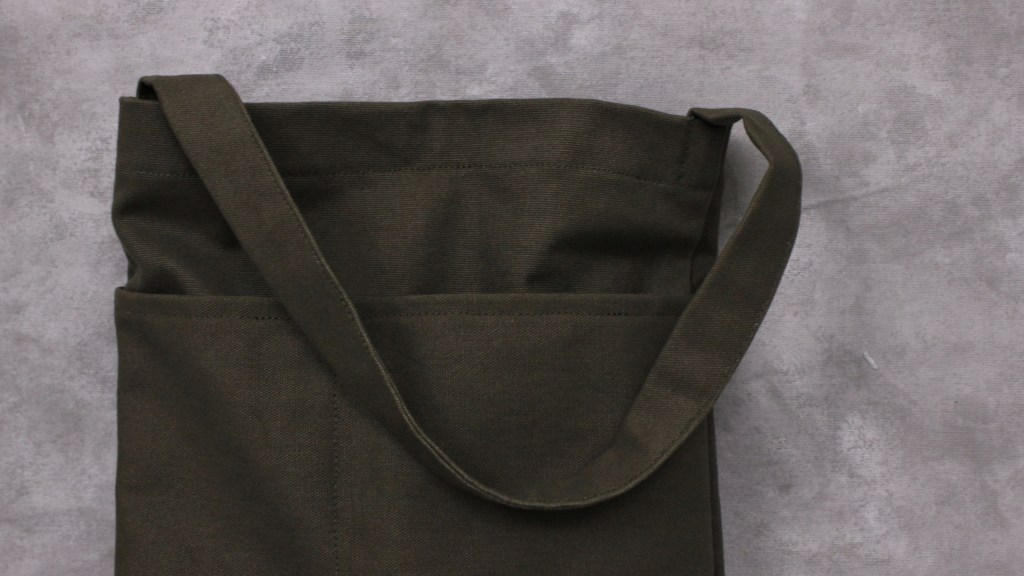
Okay we’re really close now. Last but not least, the only thing left to do is attach the strap. For sake of simplicity and easier construction, I chose to do just a single strap for this bag instead of two straps. I positioned each end of the strap to overlap the side seam on the inside of the bag, and sewed along the side edges of the strap.

Ta-da! That’s it, the completed tote bag 2.0. Here’s a look at the final product.
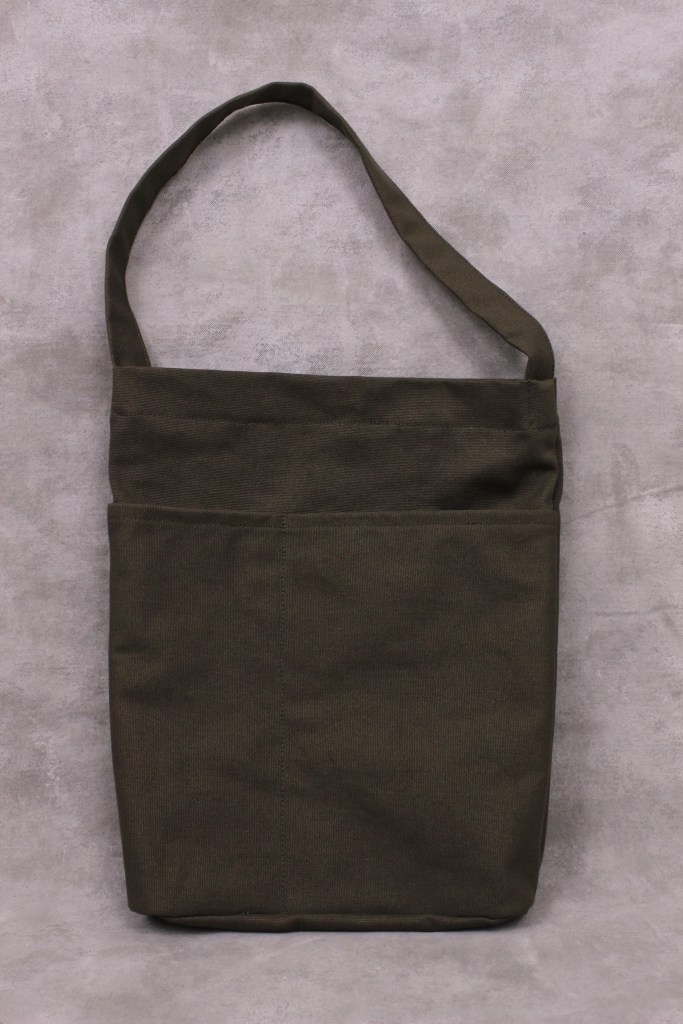


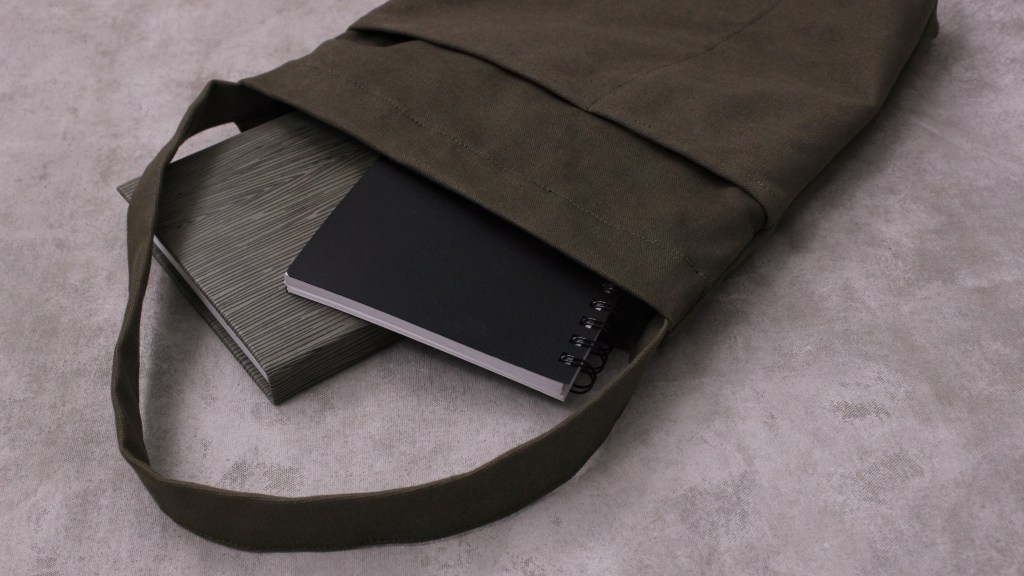
I always enjoy making custom things for other people, and this one was no different. This project was especially interesting because it almost felt like a progress check of how much I’ve grown since 2020. I can confidently say it was nice to see some tangible progress in my abilities after 3 years. I was really happy with how this one turned out, and even happier to see how quickly my mom started using this tote bag after Christmas 🙂
