It’s been a while but we’re still here! It’s gotten busy behind-the-scenes with some life things, but I’m back with my most recent sewing project. This one is nice and simple, so like the pillowcase it’s definitely a good one for beginners. I wanted some sort of case for switching between work and personal laptops in order to put one away nicely when I’m not using it, so I decided to make a laptop sleeve. I wanted something a little more fun and lively than what’s more commonly available, so why not just make my own and create some classic customade function? Alrighty, let’s get into it.
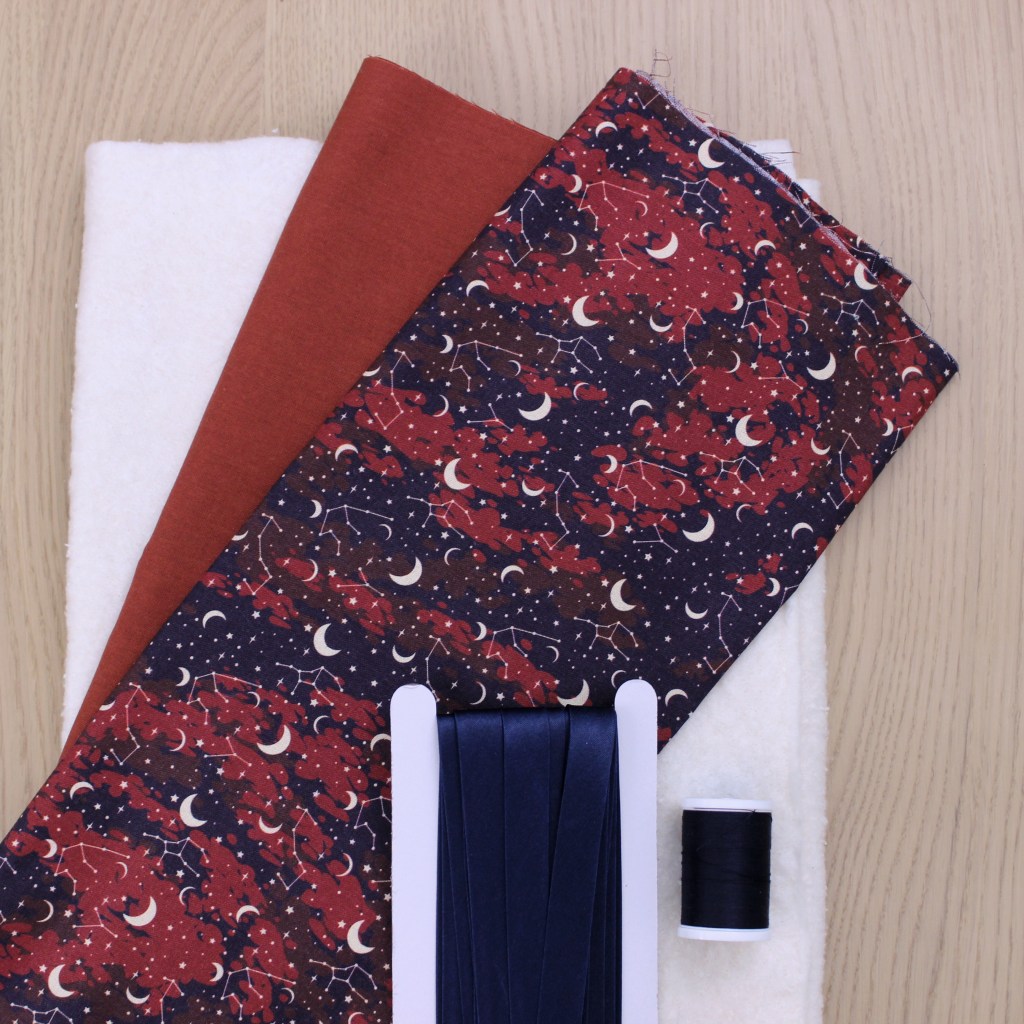
As with many of my sewing projects, I went through Pinterest to get a better idea of how I might want it to look. My search led me to these criteria: a vertical sleeve, (i.e., my laptop would go in sideways), a mix of printed and solid fabric, quilted, and no closure. With that, I started gathering my materials. With quilting in general, you’re typically stitching over a number of layers (decoratively or otherwise); in my case, the sleeve would involve 1 layer of batting sandwiched between 2 layers of fabric. Luckily for me, I had some leftover batting from a previous project, so I just needed to grab some printed fabric, solid fabric, folded bias tape, and matching thread. Given that a laptop sleeve is not very big, I got my fabric from Fabricland since you can purchase fabric in as little as 10 cm increments. I wanted the outside to be a patterned fabric with the inside fabric being an accent colour matching the patterned fabric. In terms of sizing, both of my laptops (luckily) are the same size, making this a one-size-fits-all laptop sleeve for two.

To figure out the size of fabric I needed, I just loosely measured the length and width of my own laptop(s), leaving some extra wiggle room for laptop depth/thickness (in addition to seam allowance) that I could trim down later in the process if needed.
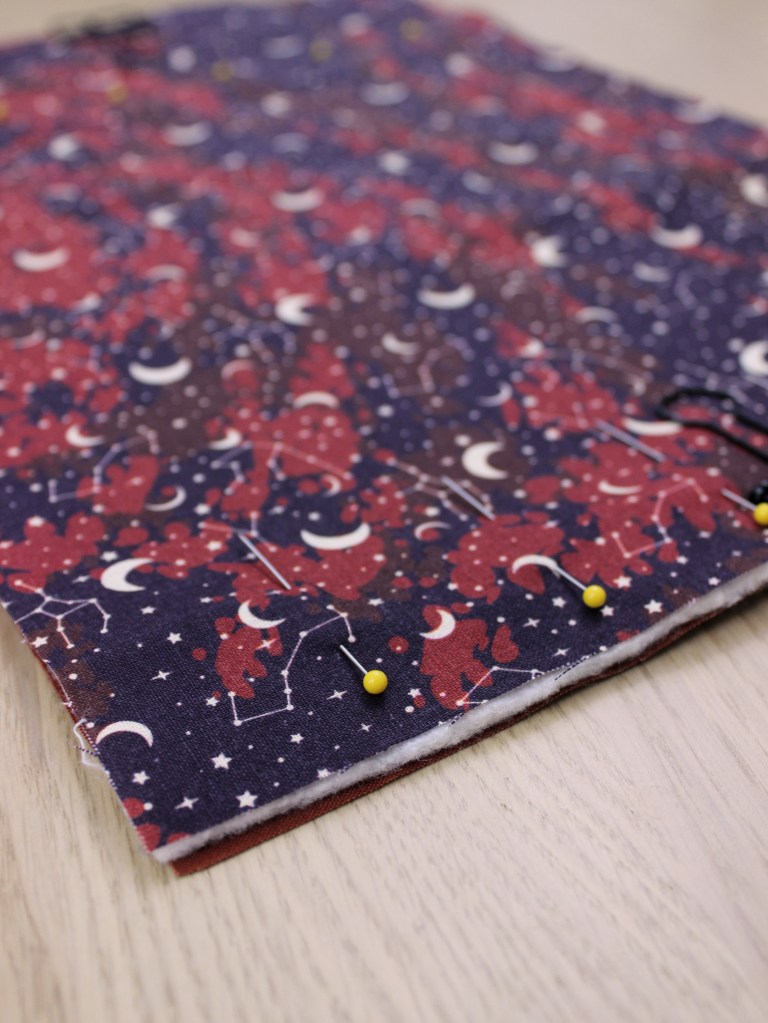
Conceptually, the sewing process can be split into 2 parts: quilting and binding. As mentioned previously, I chose 1 layer of batting between 2 layers of fabric. So, I cut out the 3 pieces I needed (i.e., outside fabric, batting, inside fabric) both for the front and back panels, layered them together, and secured them with my trusty bulldog clips and pins.

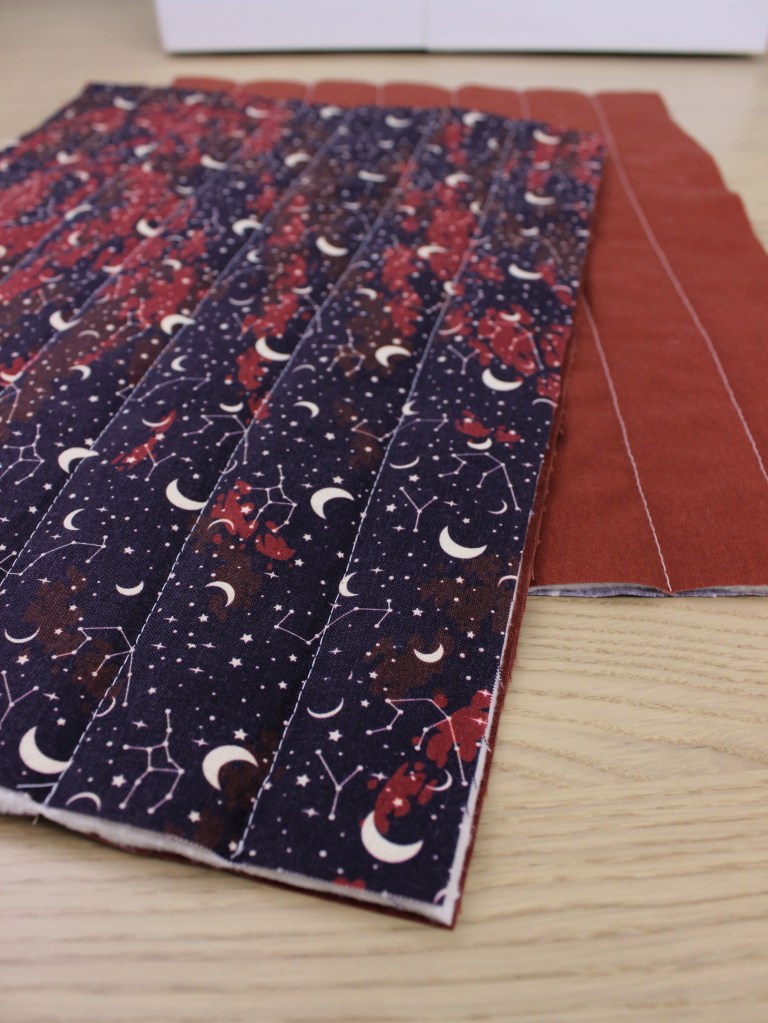
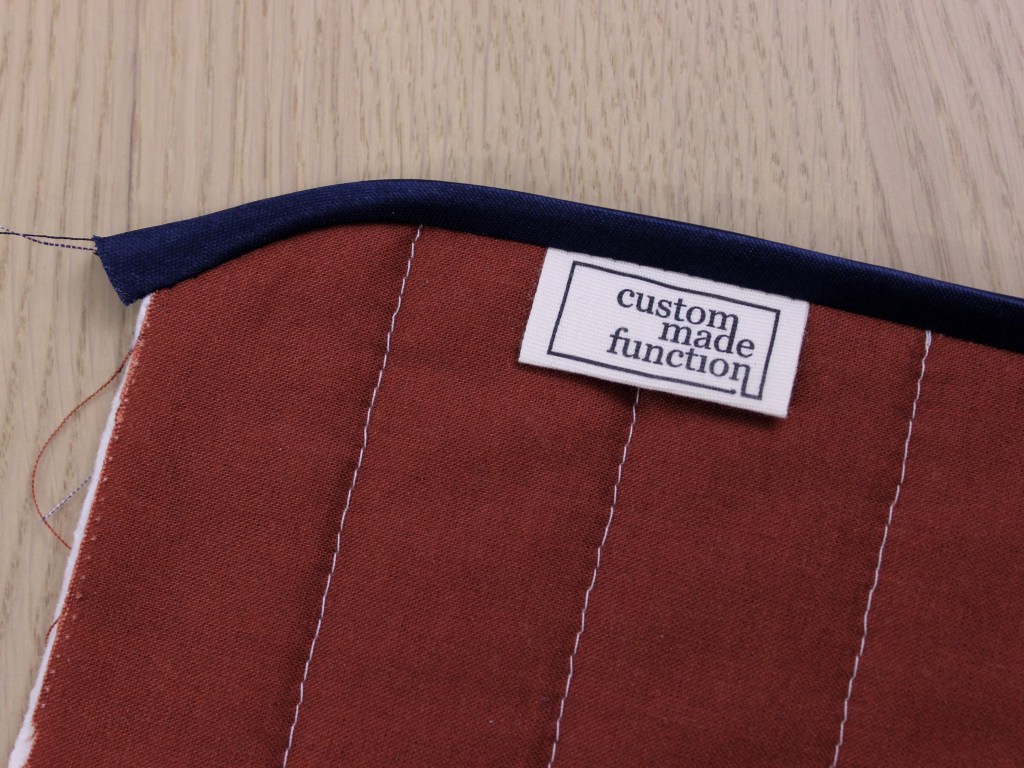
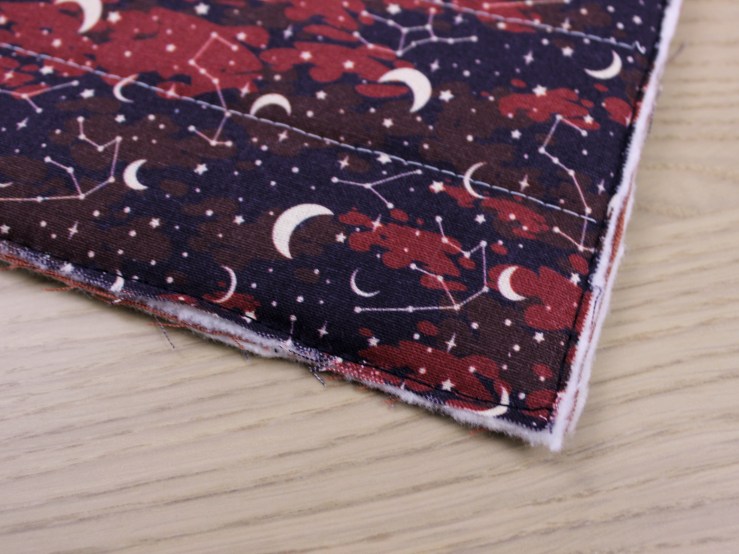
Taking one set of layered pieces, I stitched several straight lines lengthwise using a contrasting thread colour, equal distances apart (or as close as I could be), essentially connecting the 3 layers into 1 panel. Repeat for the other set, and that’s part 1 done!

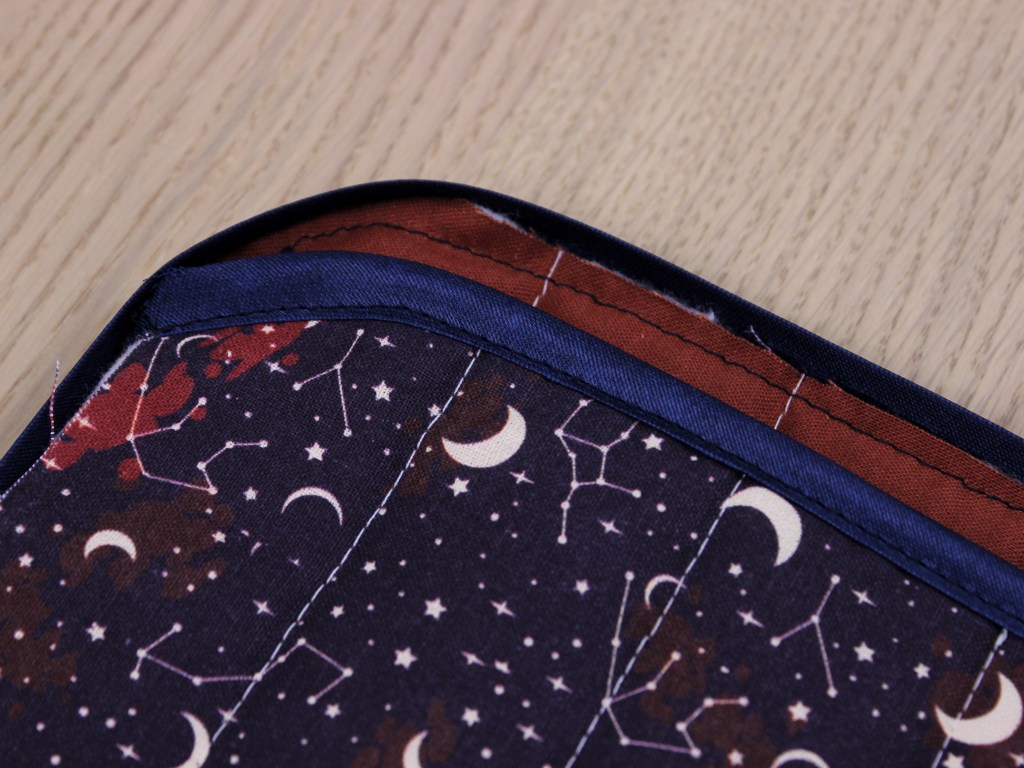
Before moving on to step 2, I wanted the opening of the sleeve to have a rounded hem. To do this, I lined up a circular item at the top corners for both my panels, traced the rounded edge onto the fabric, and cut them out. At this point, I also did a size check. I lined up the panels to my laptop, trimmed the sides if the panels were too large, and shortened what would be the front panel as a personal aesthetic preference.


Step 2, binding, finishes the raw edges and attaches both panels together. For binding, I bought single-folded bias tape (double-folded would work just as well; it’s basically the same with an additional fold/crease down the middle). The idea is that the bias tape will essentially be sewn in a way that it wraps around the seams/raw edges of your pieces like a clamp. For this laptop sleeve, bias tape will also bind our front and back panels together. If this doesn’t make sense right now, it will in a moment (I hope).

First, I used binding on the the top rounded hem of my front panel. I started by taking one end of the bias tape and lining it up with the edge of my fabric, right sides together. Next, I sewed along, if not very close to, the first crease/fold.

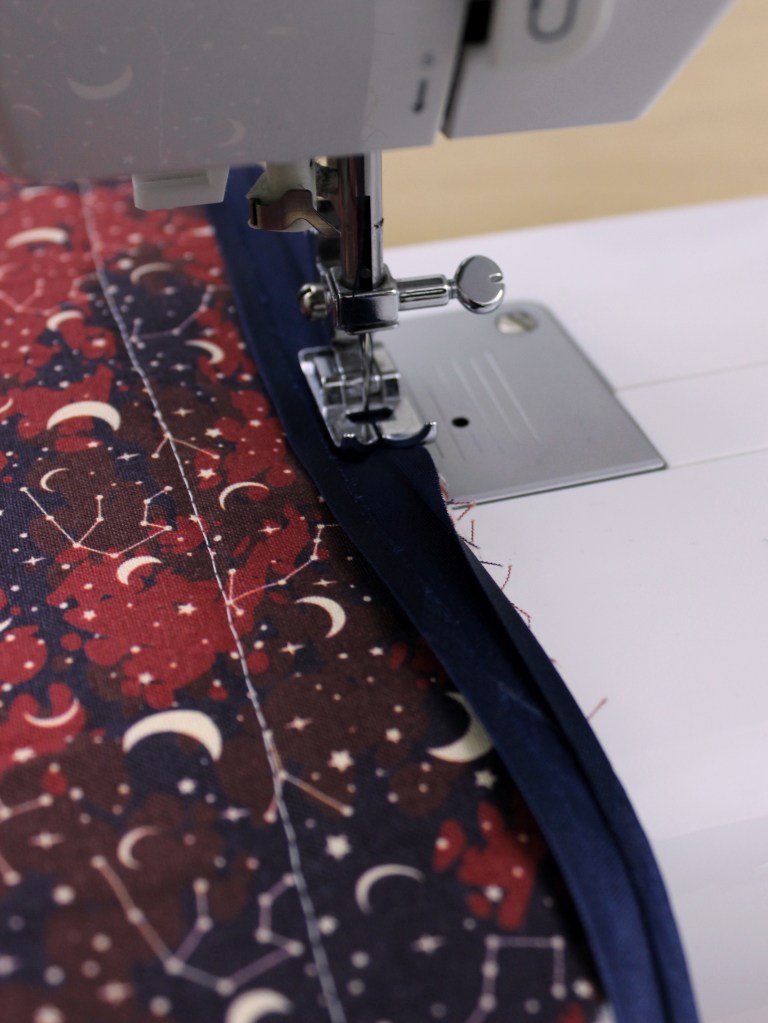
After that, you fold the bias tape along the line you’ve just sewn and flip it to the other side so you can 1) see the nice clean edge of the bias tape on the underside, and 2) use the other end of the bias tape to conceal the rest of your raw edge. From here, you would just need to sew the bias tape down along the edge to finish it off.


Ideally, the amount of bias tape width you have on both sides of your fabric would be the same, so that when you sew down the bias tape the second time, the stitches will overlap with where the bias tape is on the underside versus somewhere else. If none of that made sense with the pictures, here’s a video of how it works for reference (sometimes these techniques are just easier to grasp in a video).
Alrighty, the next and final step is just repeating the binding process across the entire perimeter, being sure to sandwich both the front and back panels together.


Since it was a little hard to pin all these layers together, I sewed a basting stitch first to keep the layers aligned, making this next part a little easier. Basting is a technique that involves stitching over layers of fabric temporarily just to hold them all together (usually done using the longest stitch length and sewn inside the width left for the seam allowance).
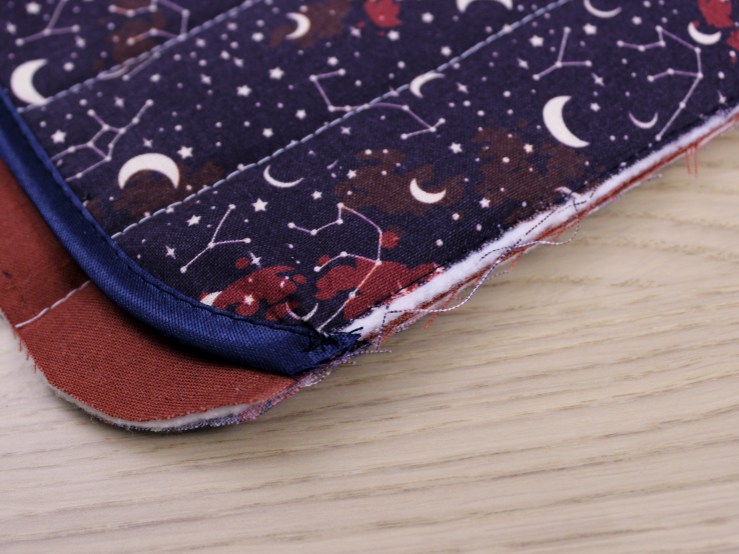
After basting along the side and bottom edges, I went in with the bias tape around the entire sleeve like previously mentioned using the same technique. I will admit, I’m still working on getting better at using bias tape, so some edges did not come out as clean as I’d like, but these skills are always a work in progress and likely require more practice.
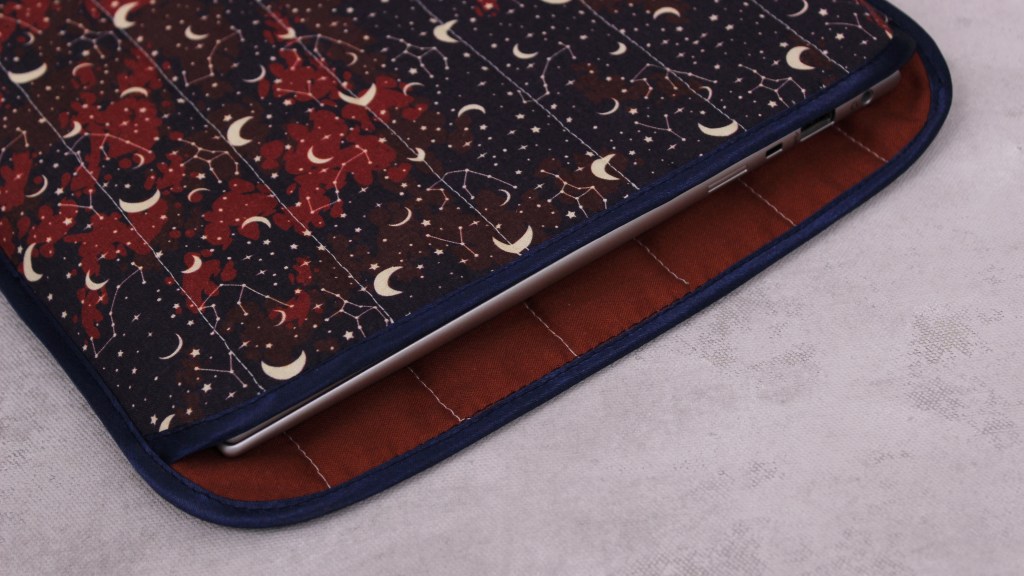
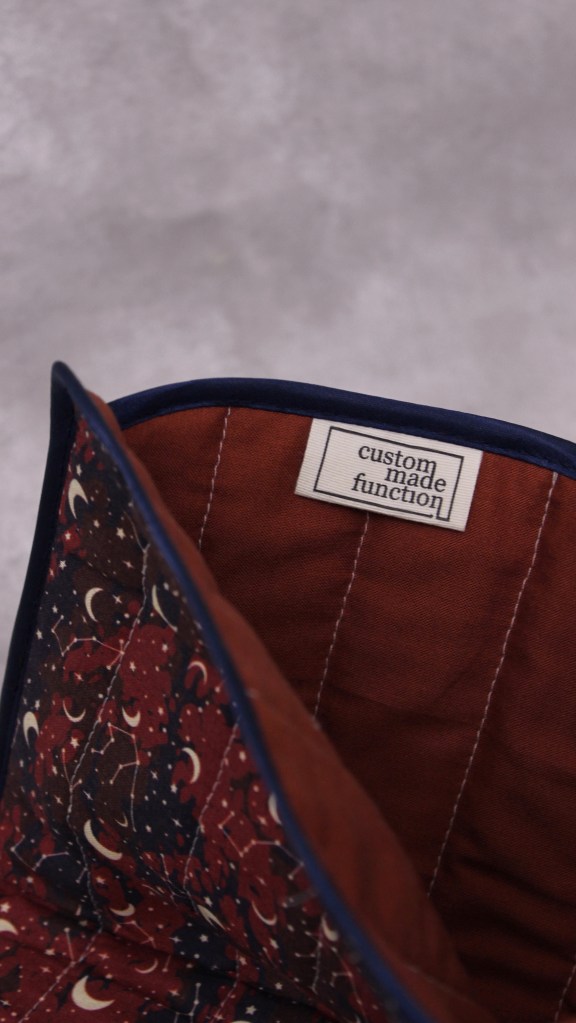
Ta-da! Short and sweet, my laptop sleeve for two is done. A super simple project if you ask me, but still using some fun and basic techniques along the way.


I’m happy with how it turned out, but there are some changes technique-wise I would make if I did this again. The biggest one being the order of the basting stitches; I went continuously starting from the top of one side, going down and across the bottom, and back up the other side. Next time, I’d do both sides separately from top to bottom first, and then baste across the bottom to keep the front panel lined up as evenly as possible with the bottom panel. I’d also maybe consider a wider folded bias tape based on the thickness of my panels—it would’ve made binding a bit easier. Nonetheless, it serves its purpose, and things like these are always part of the learning process that I can put to good use later 🙂
