Happy new year everyone! Starting off 2025 with a long awaited post.
This project is one I’ve wanted to try for some time now, but also one I’ve been a bit intimidated by. As the title reads, I made a button-up shirt! I find this staple piece of clothing is a bit intimidating because it feels like there’s a lot of complex parts, from the yoke to the collar to the cuffs (not to mention learning what a yoke is). So to ease myself into it, I decided on a short-sleeve button-up shirt, thereby achieving the yolk and collar but bypassing the cuff. In order to learn how to make a button-up shirt the right way, I bought a pattern called the ‘Jensen Shirt’ by ‘Wardrobe by me’ to help me out. What’s great about this pattern is that is offers all the variations you could have in a button-up shirt: the type of collar (pointed vs stand), length of sleeves (short or long), choice of a pocket, and choice of a pleat in the back. Its essentially getting a bunch of patterns for the price of one, and who can pass up that kind of deal?
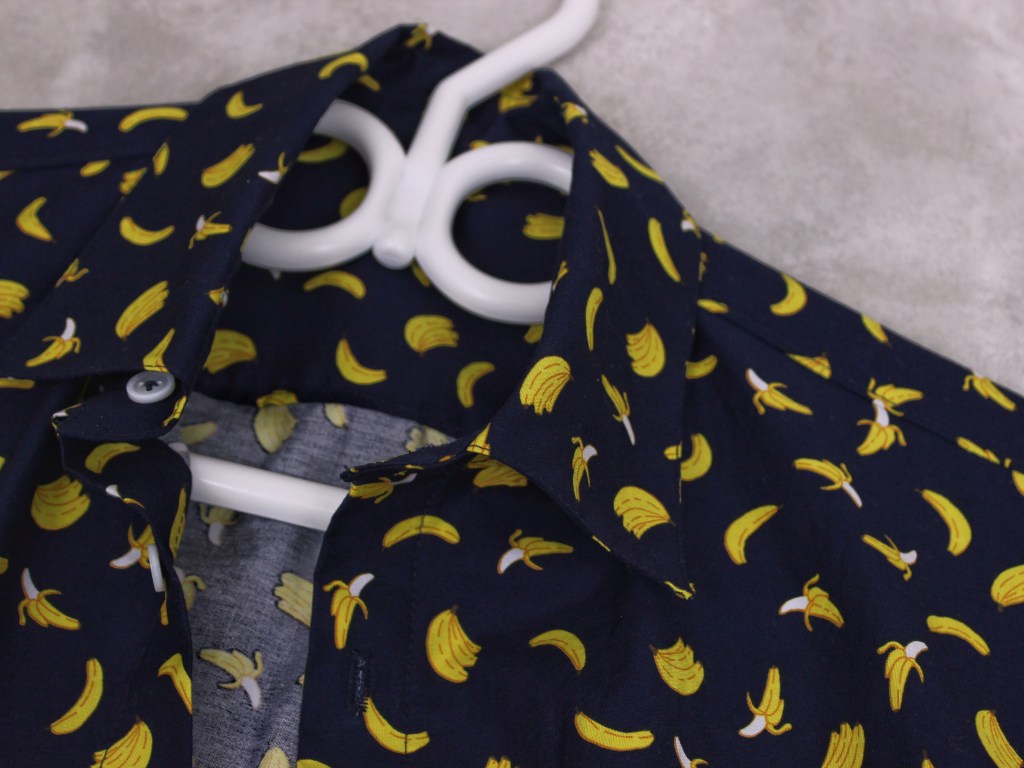
To preface, I made this button-up shirt for my boyfriend, and this piece was actually inspired by a fun banana print fabric we found discounted at Fabricland! It would’ve made for a great summer shirt if I hadn’t waited until recently to sew it, but c’est la vie, there’s always next summer.
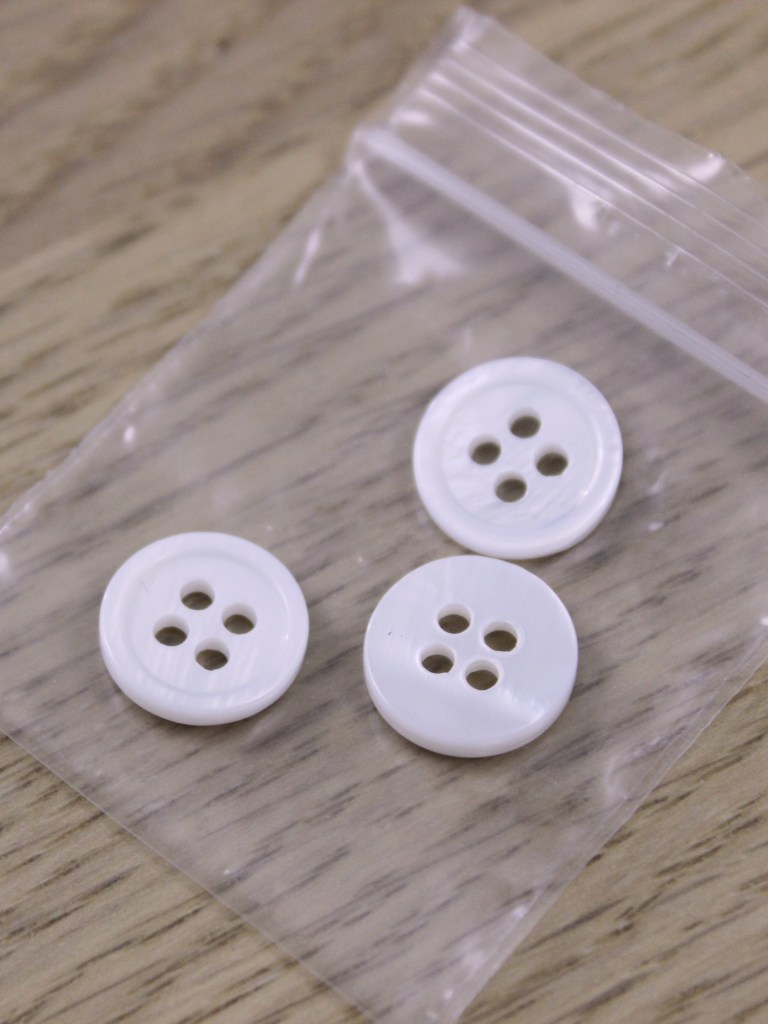
So, a casual button-up shirt only really consists of a few other items once you have the fabric: thread and buttons. For thread, I chose a matching navy thread, and for buttons, I chose 11 mm (standard for button-up shirts) mother of pearl 4-hole buttons to bring out the bananas.


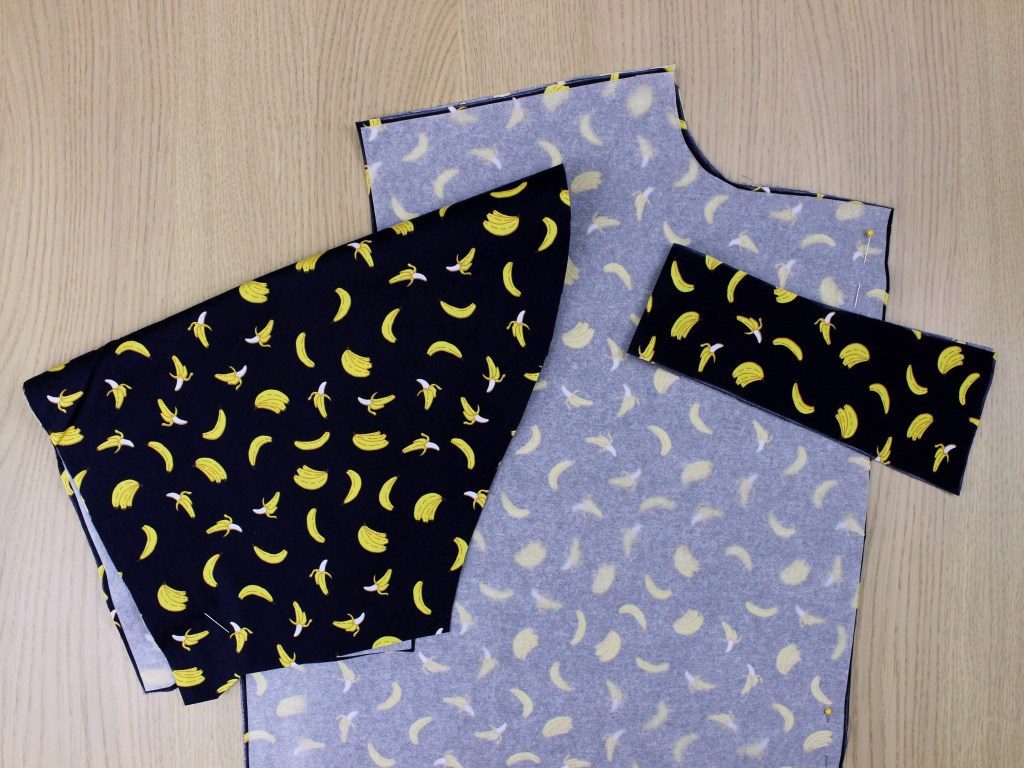
With clothes, I always find it best practice to make a sample first to double-check the fit, but to use as little fabric as possible, I only made it with the pieces I thought were really necessary: the front, the back, and one sleeve.


Once I confirmed the fit and made any needed adjustments, I cut out all my pieces from the banana fabric and got to sewing.

I’ve broken up this project into sections to (hopefully) make it less chaotic. Hope you enjoy—here we go!
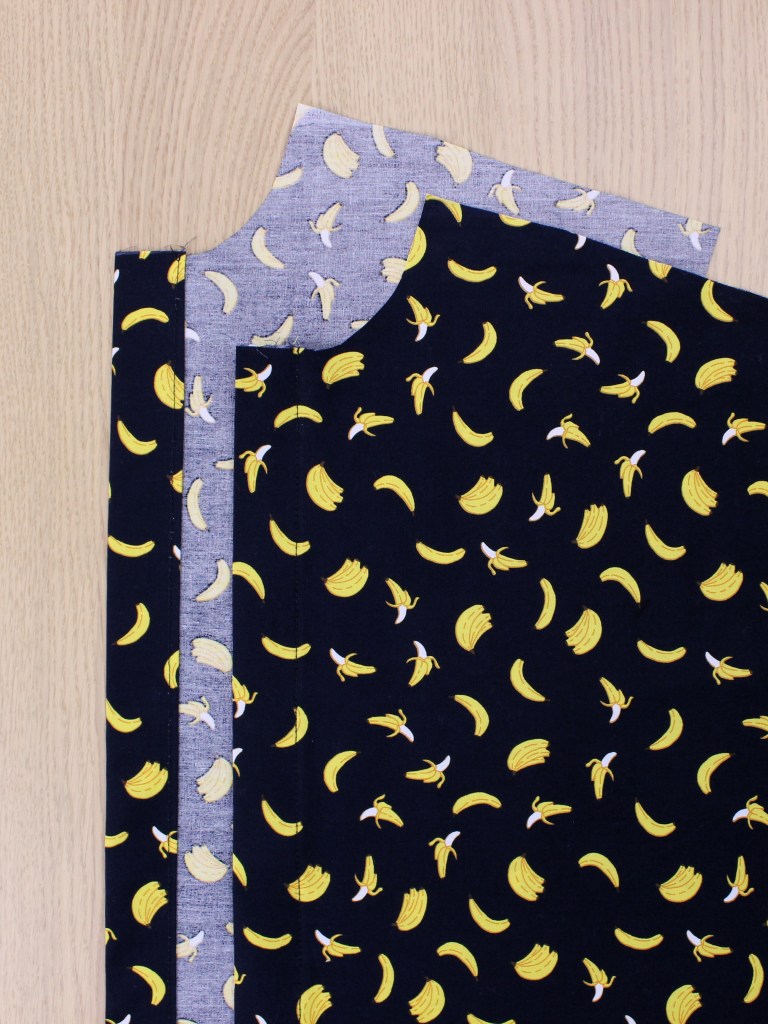
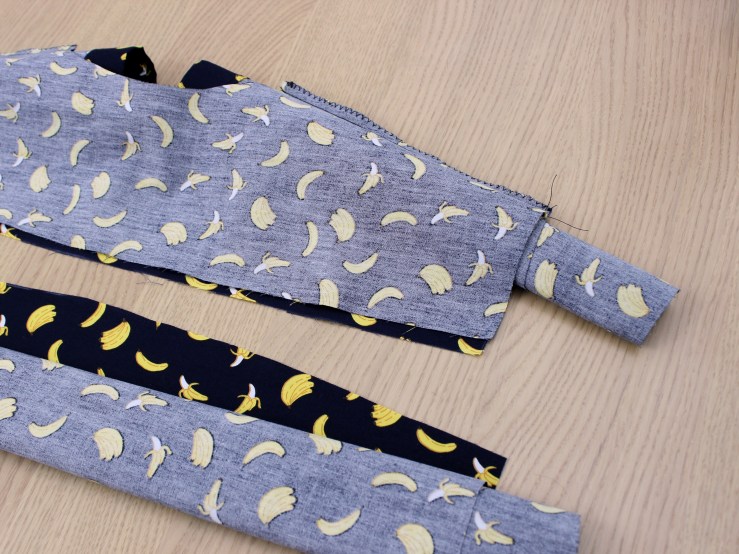
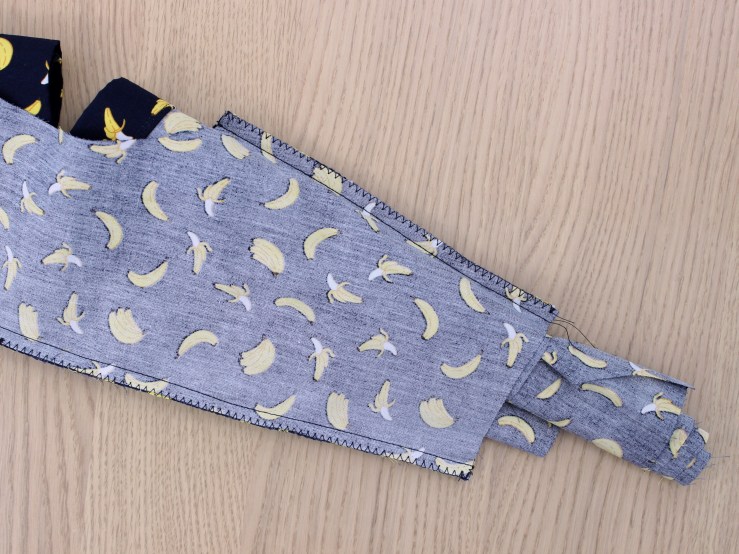
1. Sleeves
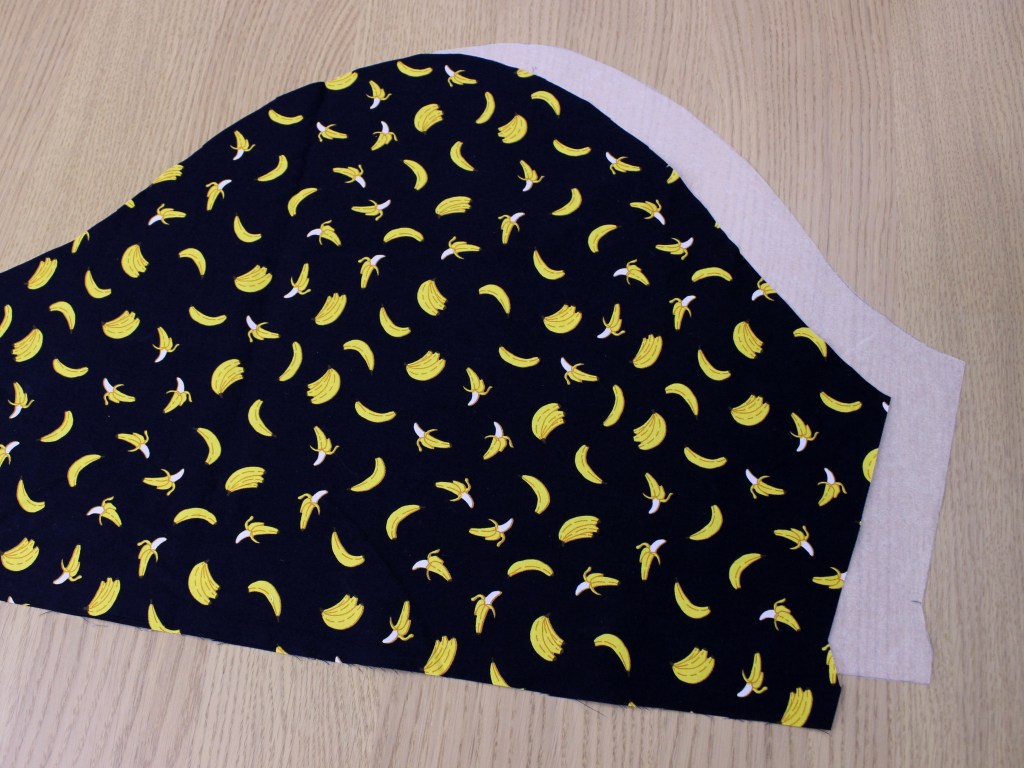
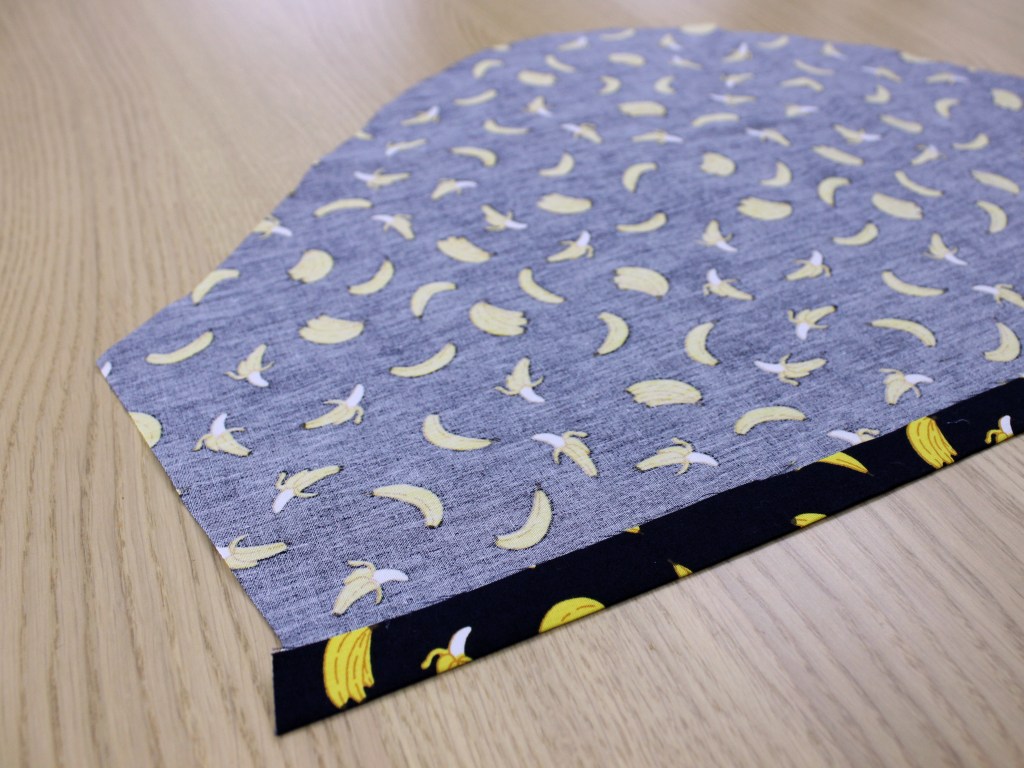
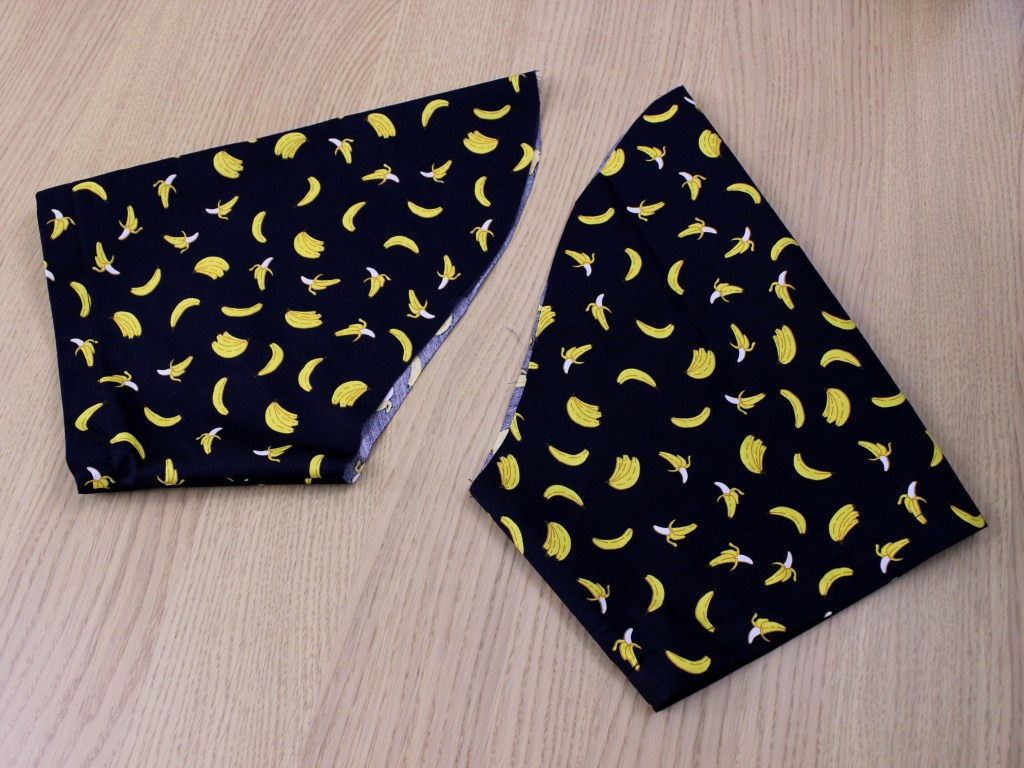
With the sleeve pieces cut out (1), I did a quick double hem of the sleeve opening (2) before sewing the short edges right sides together. I then turned the whole thing right-side out to get the finished sleeves (3).
2. Placket
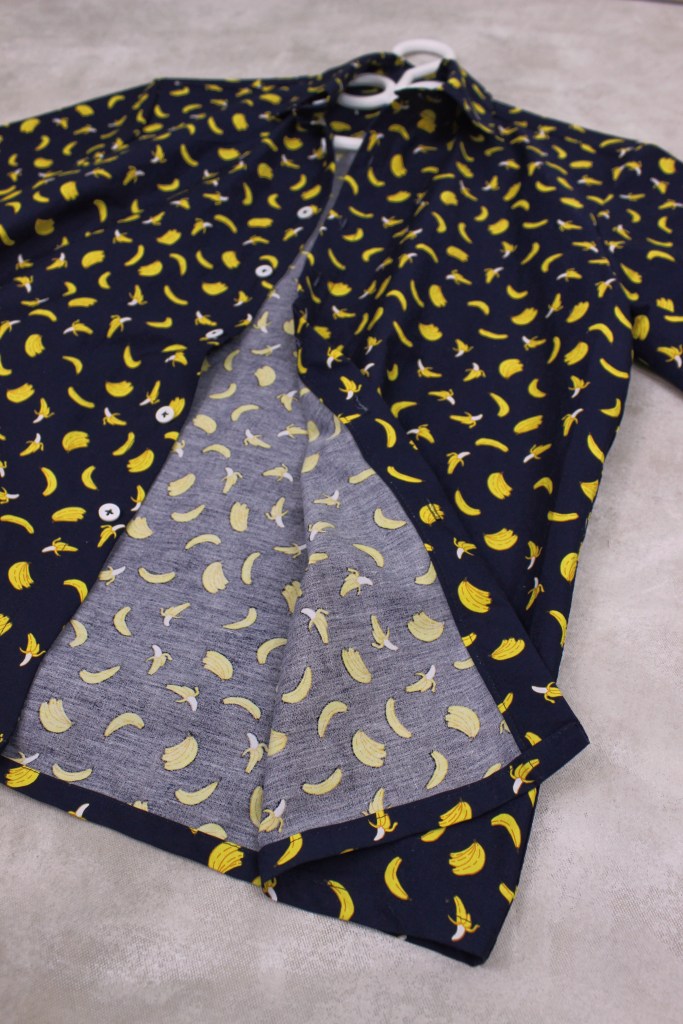
The placket is the thicker part of the shirt opening, where the buttons and buttonholes live. This one required some interface (a fusible textile used to stiffen and add structure to fabric) that I ironed onto the wrong side of the fabric. After that, I folded the placket edge over twice (like a double hem) to conceal any raw edges and topstitched to finish (I did this for both front edges).

3. Shoulders and Yoke
This is where things started to get interesting because I had no idea this was how the shoulders and yoke were sewn on a button-up. First things first, the yoke of a button-up shirt is that piece of fabric you typically see across the upper back, spanning the shoulders. A yoke can add visual interest, or serve as extra support to an area undergoing more stretch and wear over time.
If you remember my ‘Pillowcases for a cause‘ post, the burrito method used there applies here as well. With both yoke pieces facing right sides together, I snuck the front pieces between them to sew all 3 pieces together along the top edges, forming my shoulder seams. Then, I rolled up the two front pieces (right side of the fabric on the inside) so they’d sit between the yoke pieces (1). Next, I rolled up the back piece and also snuck it between the yoke pieces, with the top edge of the back piece layered between the long edge of the yoke pieces, before sewing along the long edge (2). Once that was done and I turned the whole thing inside out, undoing my burrito, the finished yoke was revealed (topstitch to finish) (3).
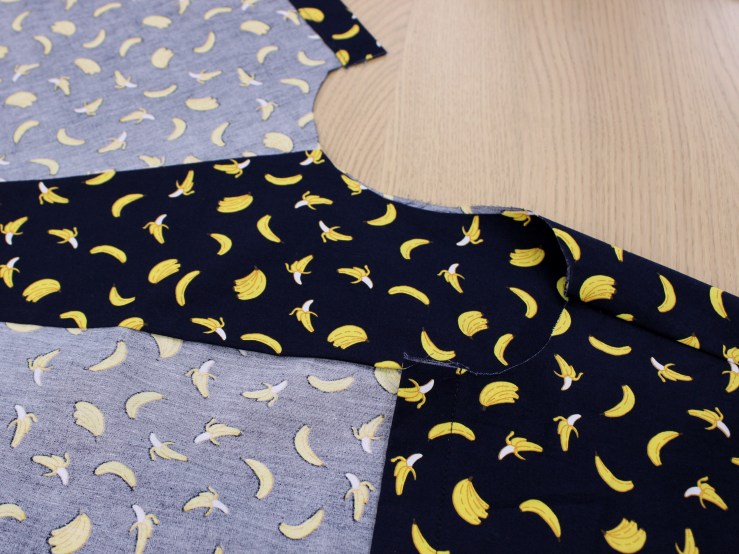
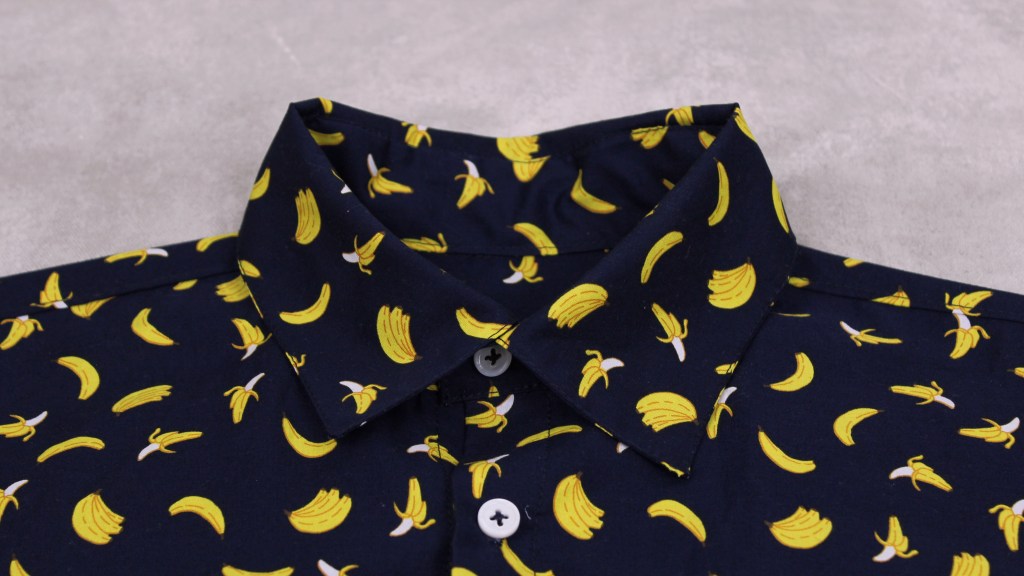
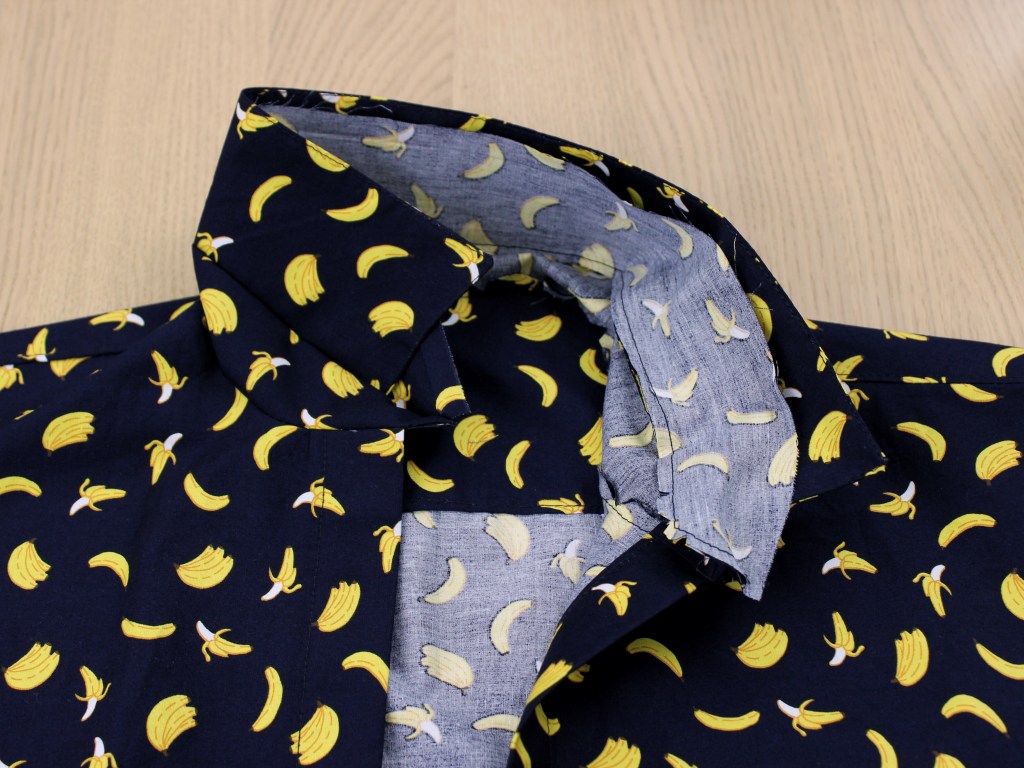
4. Collar
The collar was the most mysterious part of the button-up shirt because until I sewed it together, I had no idea how these pieces were going to form a collar. The part is made up of two pieces: the stand and the collar (1). The stand is made up of two thinner pieces of fabric with a rounded long edge that serves as the middle man between the body of the shirt and the collar. First, I sewed one stand piece to the neck opening of the shirt, right sides facing (2).

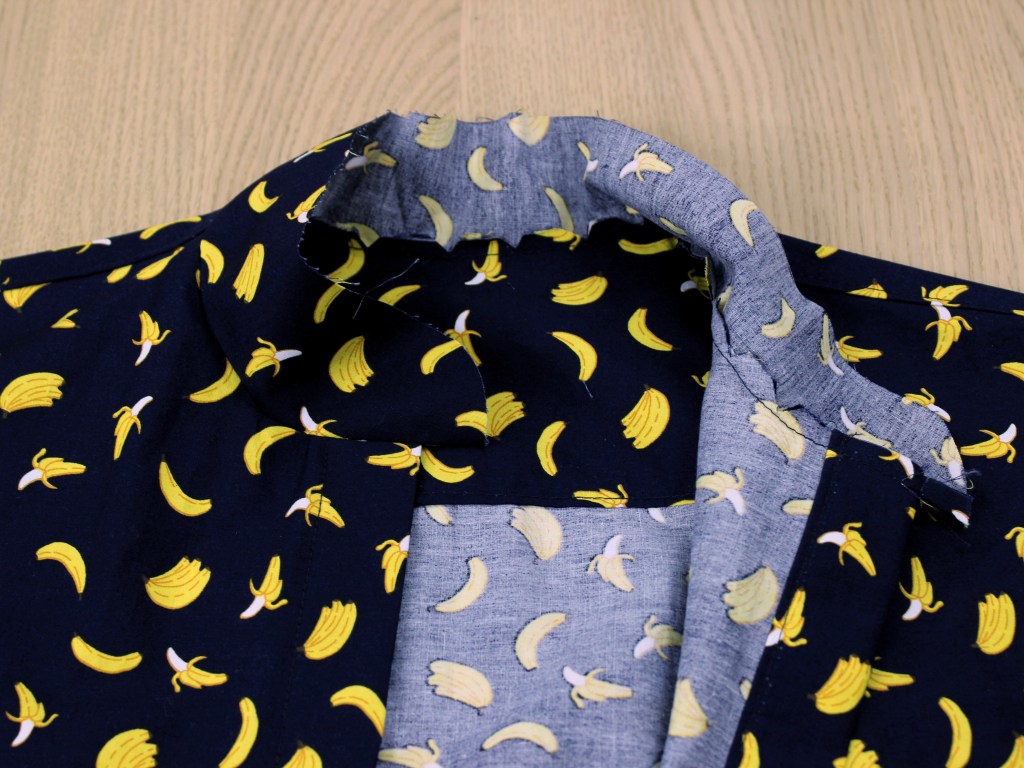
Then, I sewed both pieces of the collar together right sides facing, turned it right side out, and topstitched along only 3 sides to leave the curved edge open (the edge that will be sewn to the shirt). Lining this side up to the neck opening of the shirt, I layered the other stand piece on top (right sides facing) and sewed all the layers together (3). After that, I folded down the stand piece layered on top to reveal the right side of the fabric and topstitched it in place to form the full collar (4).

Body
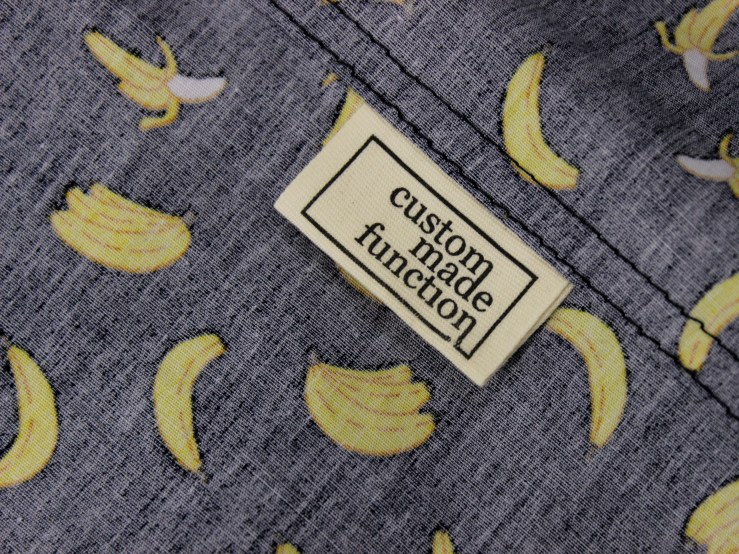
Phew, we’re over the most difficult steps now. The body consisted of sewing the side seams together and attaching the sleeves. For the side seams, I did a flat-felled seam (1), which is a strong and durable seam commonly seen on jeans and button up shirts. If you’re curious how to sew a flat-felled seam, here’s a video explaining a few different ways you can do one. I also made sure to sew in one of my customade function labels as well. Moving onto the sleeves, I simply sewed them to the arm holes of the shirt right sides together, finished the seam with an overlock stitch, and turned everything right-side out (2).

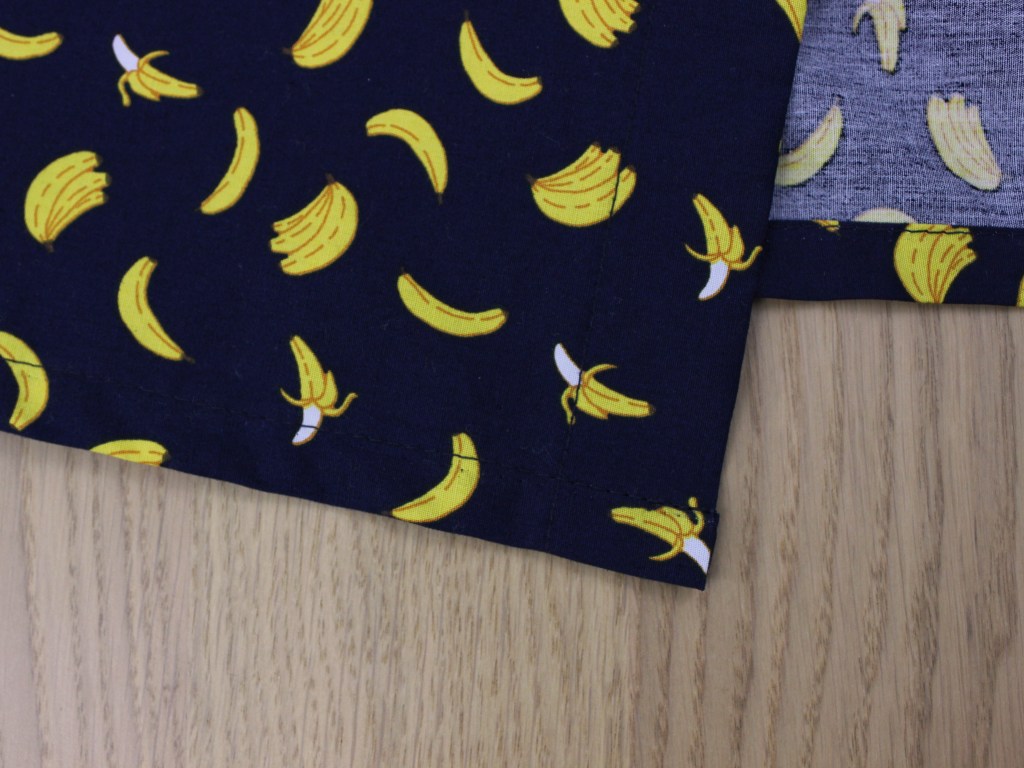
Hemming
Now we’re getting to the last few final steps. I did a simple double hem all across the bottom for a clean finish, with no raw edges showing.

Buttons
The last step was to sew on the buttonholes and buttons. I used my buttonhole foot to sew the buttonholes, with 1 button at the collar followed by 6 along the left placket. Then, I marked where my buttons would go by overlapping the buttonholes on the right placket and marking the centre spot with some chalk.
There’s more than one way to sew on a 4-hole button, but I followed the hand-sewing method in this video, essentially doing a stitch diagonally across the holes in a crosswise fashion. With that, I sewed on all 7 mother of pearl buttons and finished off this button-up shirt.

And there we have it! Cheers to my first button-up shirt 🙂 I really took my time with this one since it involved some sewing concepts I had never done before, but all in all, super happy with how this one turned out.