Any big occasion is always a fun opportunity to sew a dress. Back in October, I had a wedding to attend, so I took the chance to sew my own dress for it! Its one of those, “when else will I get the chance to do this?” type things considering I don’t go to many fancy parties. So this was the vision: a v-neck neckline at the front and back with a simple skirt—maybe a slit? maybe with pockets? That’s where I started. Then I perused Etsy to see if there were any patterns that interested me. I’ve been seeing things about AI-generated patterns being sold on Etsy and how they can be pretty terrible in terms of fit, so typically when I’m picking out a pattern on Etsy I make sure to check for reviews and photos from other people who have tried it just to verify the quality of pattern I want to get. The pattern I settled on was designed by the seller NovaPattern, and included a v-neck at the front and back, a gathered skirt, and pockets!! As always, I’d recommend making a sample before cutting out your intended dress fabric; I needed to size up despite what size I would’ve been based on body measurements.
Here’s what I used:
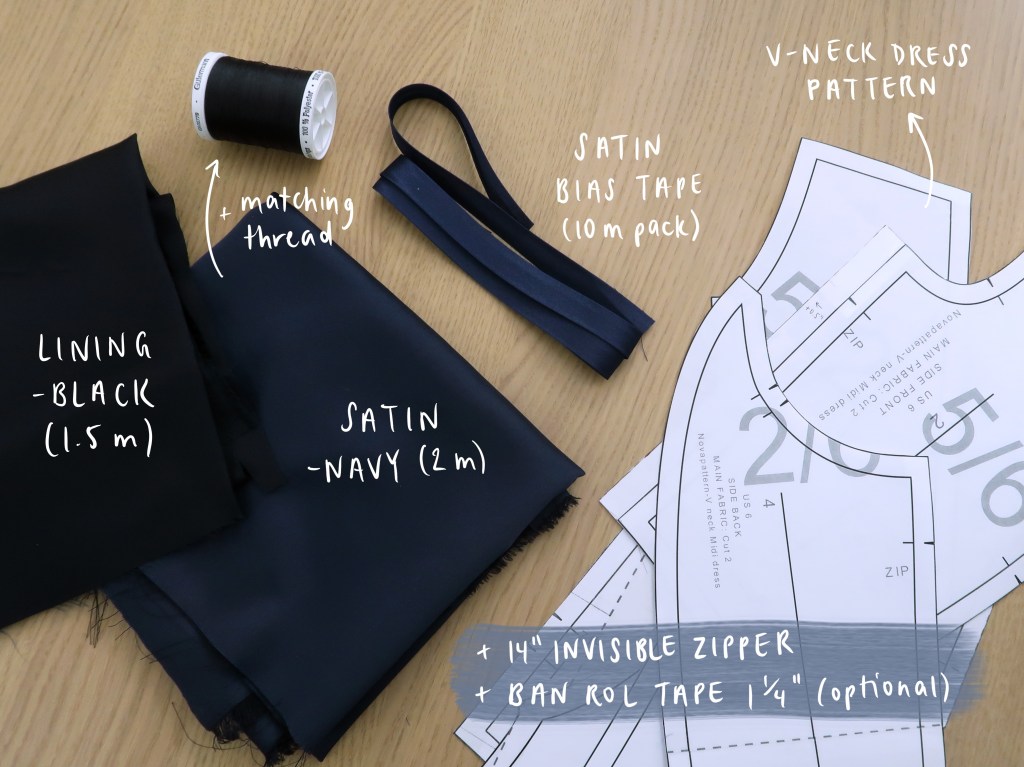
I used Ban-rol for this project, but this is totally optional. Ban-rol is SUPER helpful for “baby” hems, especially when you’re working with a more lightweight fabric like satin. Its basically a very stiff type of interfacing tape that provides a lot of structure and is often used to create a stiff and stable waistband. For “baby” hems, it can help act as a structured guide so your fabric is easier to work with and thus easier to fold into a hem. If you’re curious about how it works, I watched this Youtube video here.
My biggest takeaway: Putting in a lining
There were a couple of things I learned from this project, like working with satin and trying out Ban-rol, but the biggest takeaway was probably putting in a lining. The original pattern and instructions for this dress doesn’t include a lining, but given how thin satin can be and the season this wedding would be in, I wanted to add a lining. In theory, you’re just making the dress twice with different fabrics and then putting them together. But the tricky part to me is sewing them together. The top requires the burrito method, something I’ve mentioned a couple times on the blog that requires rolling up your fabric in a specific way before sewing right sides together to get it to come out the way its supposed to. The skirt can be simpler depending on the style (zipper or no zipper). This dress included a zipper along the back, so the way I stitched it together was sewing the lining and outer fabric to the zipper as if it were one layer. BUT, I would definitely do a bit more research in the future, incase there is a better way to do this (I wasn’t super happy with the skirt in the end, but more on that later).
Another thing I learned (after I finished the dress and tried it on), is that when you cut out the lining, for the top at least, it should actually be a little smaller than the outer piece when cutting out the fabric so that they can fit together more smoothly, with none of the lining fabric visible from the outside. What started as a dress that I thought would be a pretty simple and straightforward project became something much more involved, but hey, I got to try a couple of new techniques that I can now take into future projects (and isn’t that kind of the point?)
The outcome
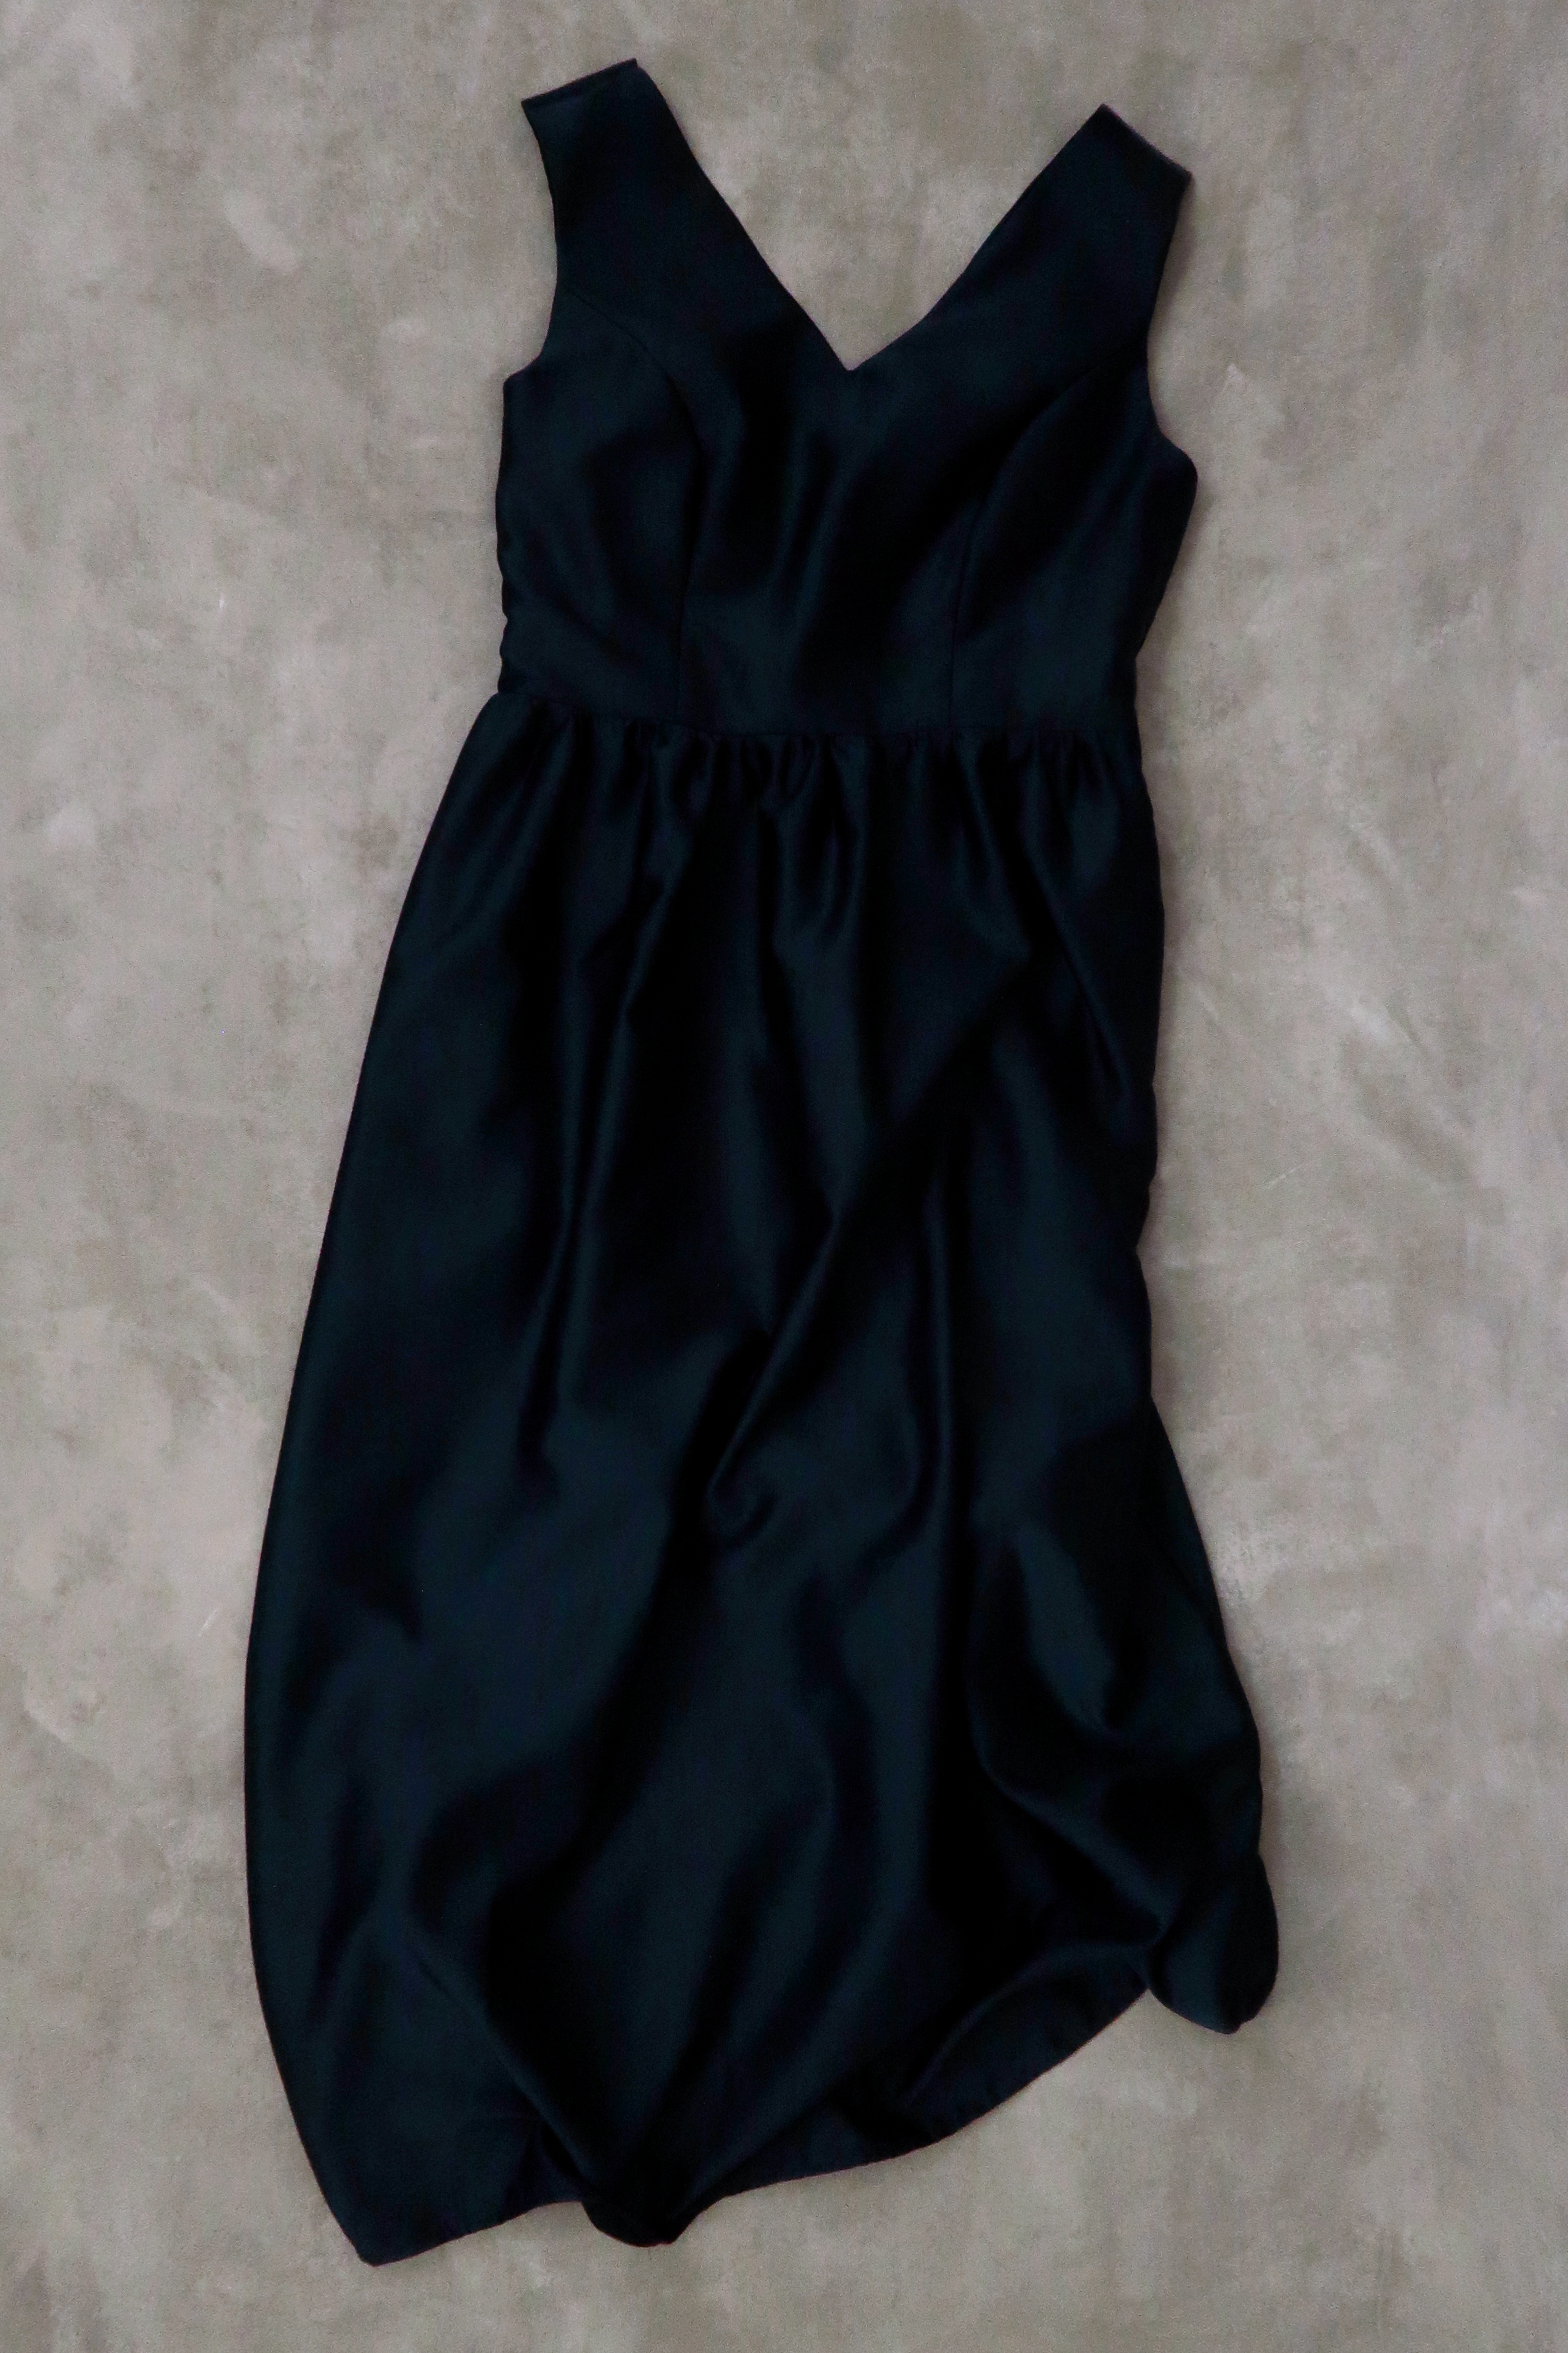
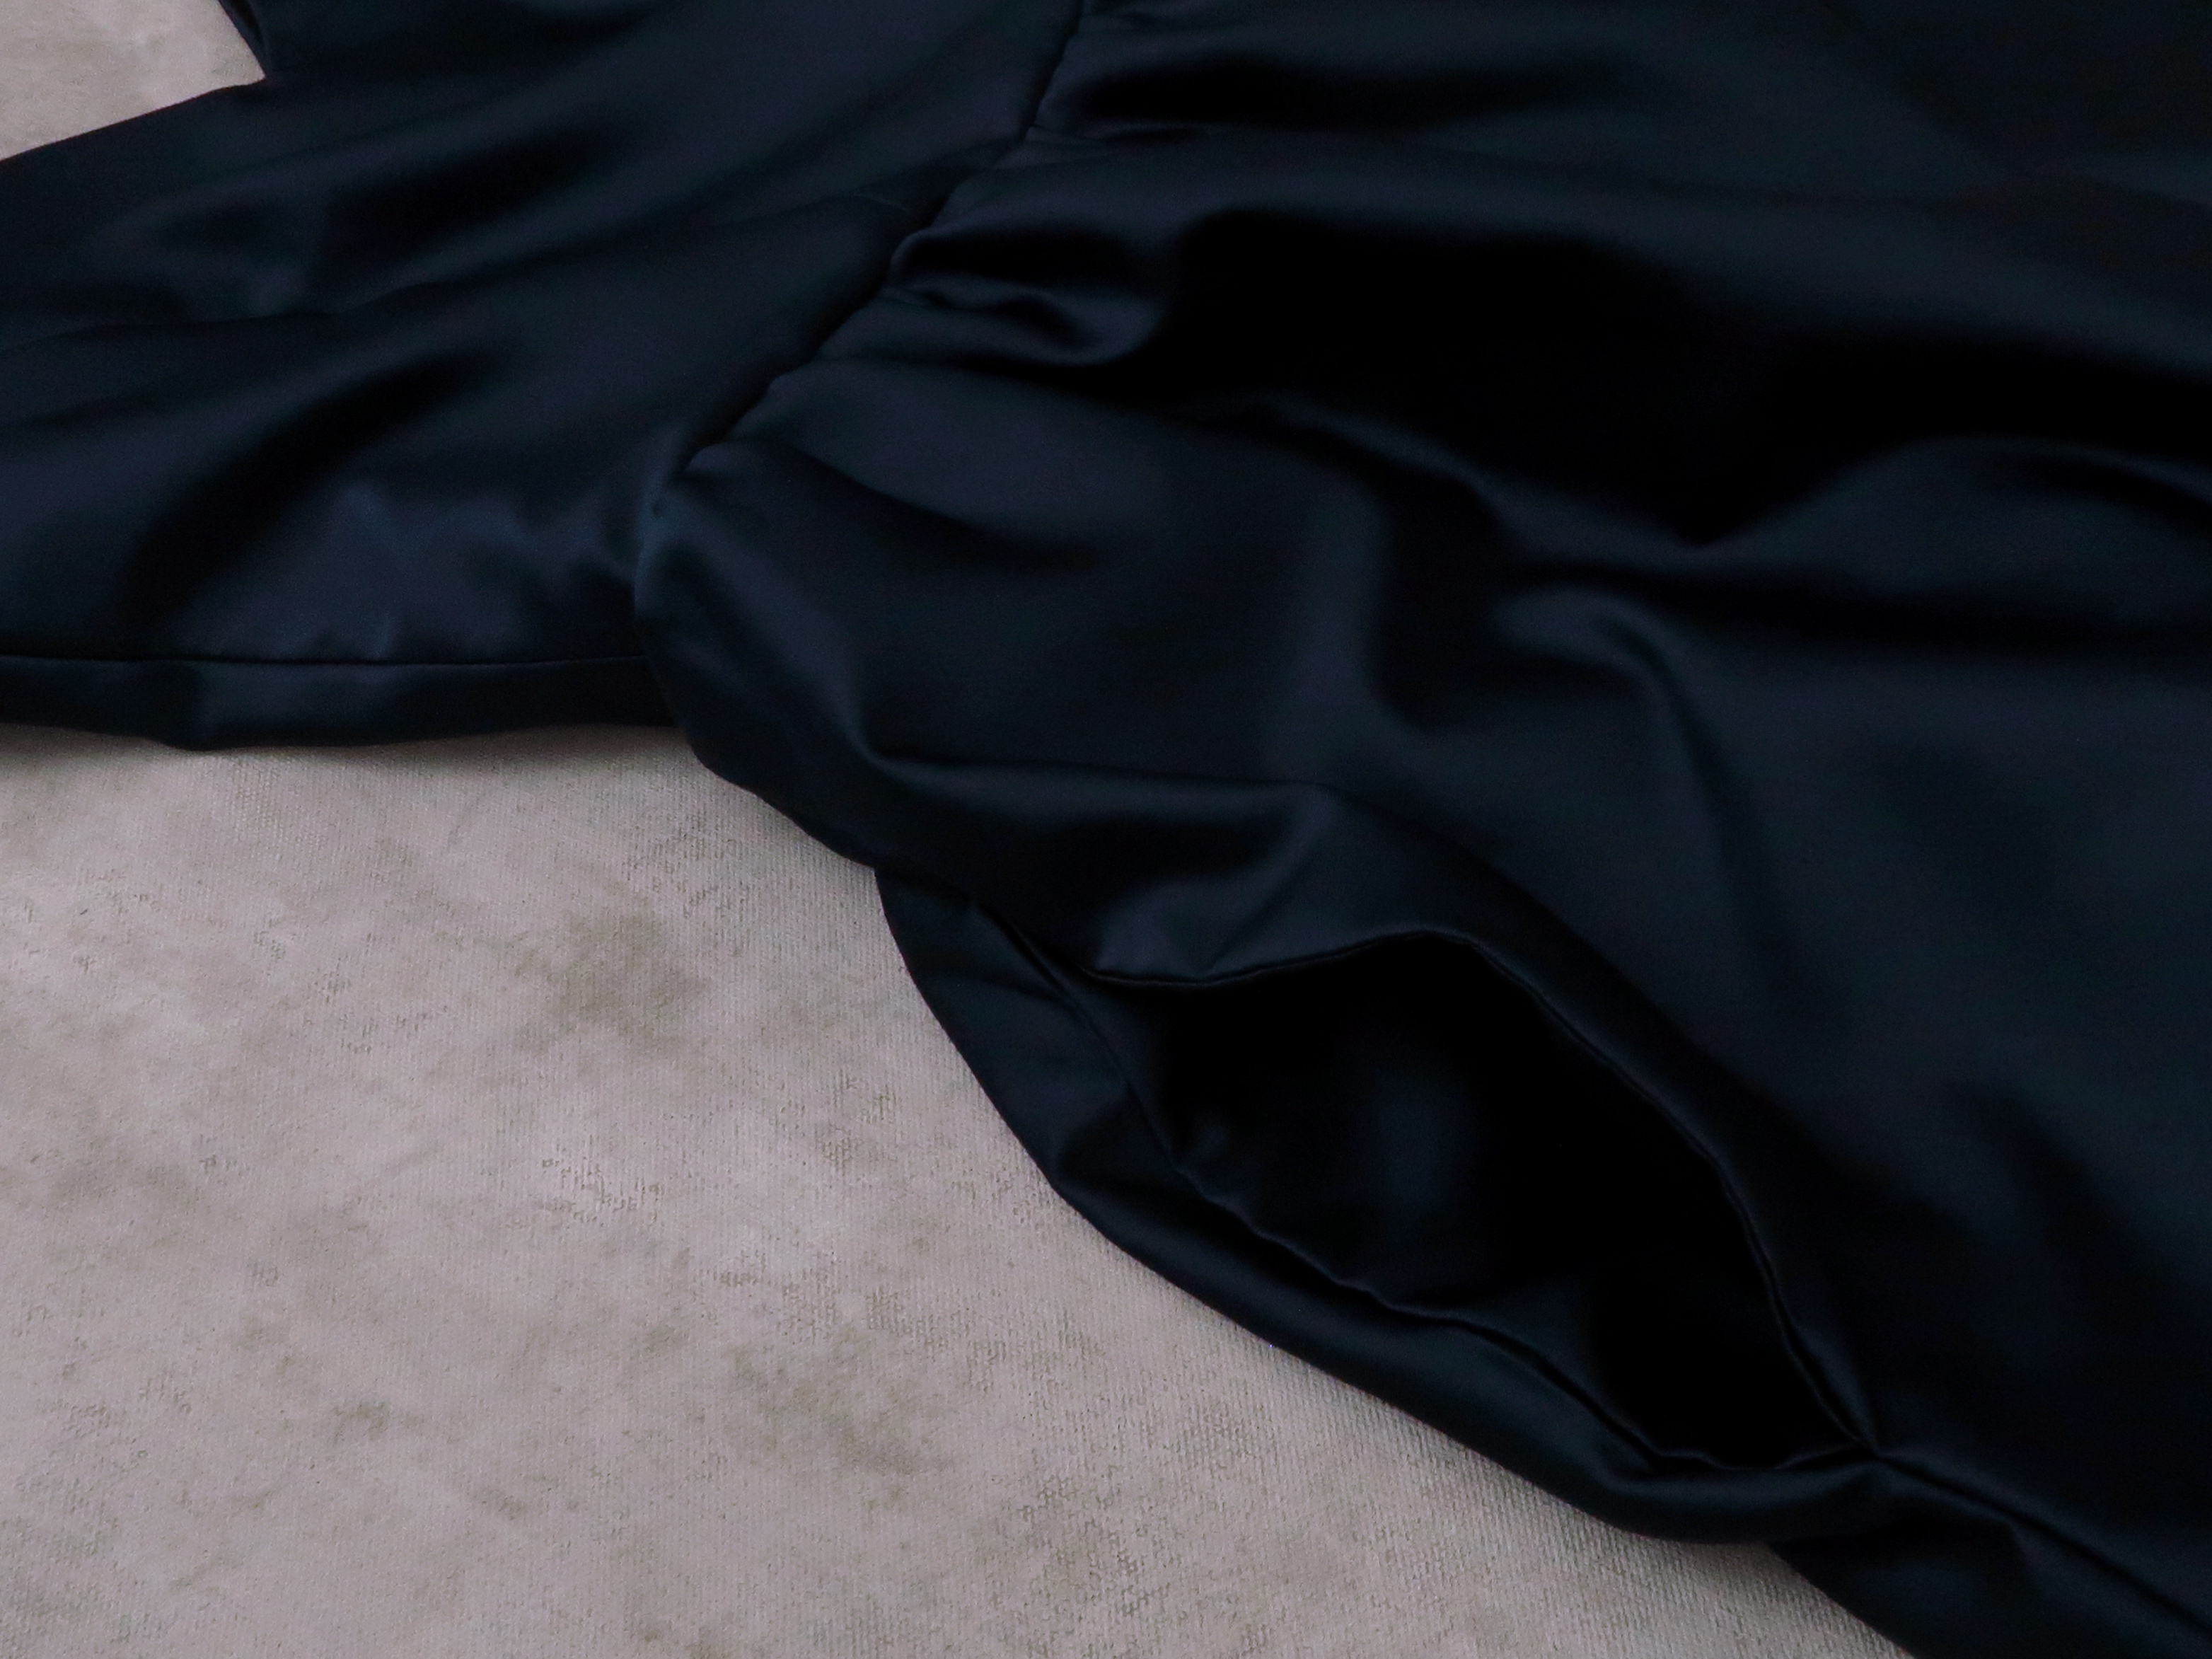
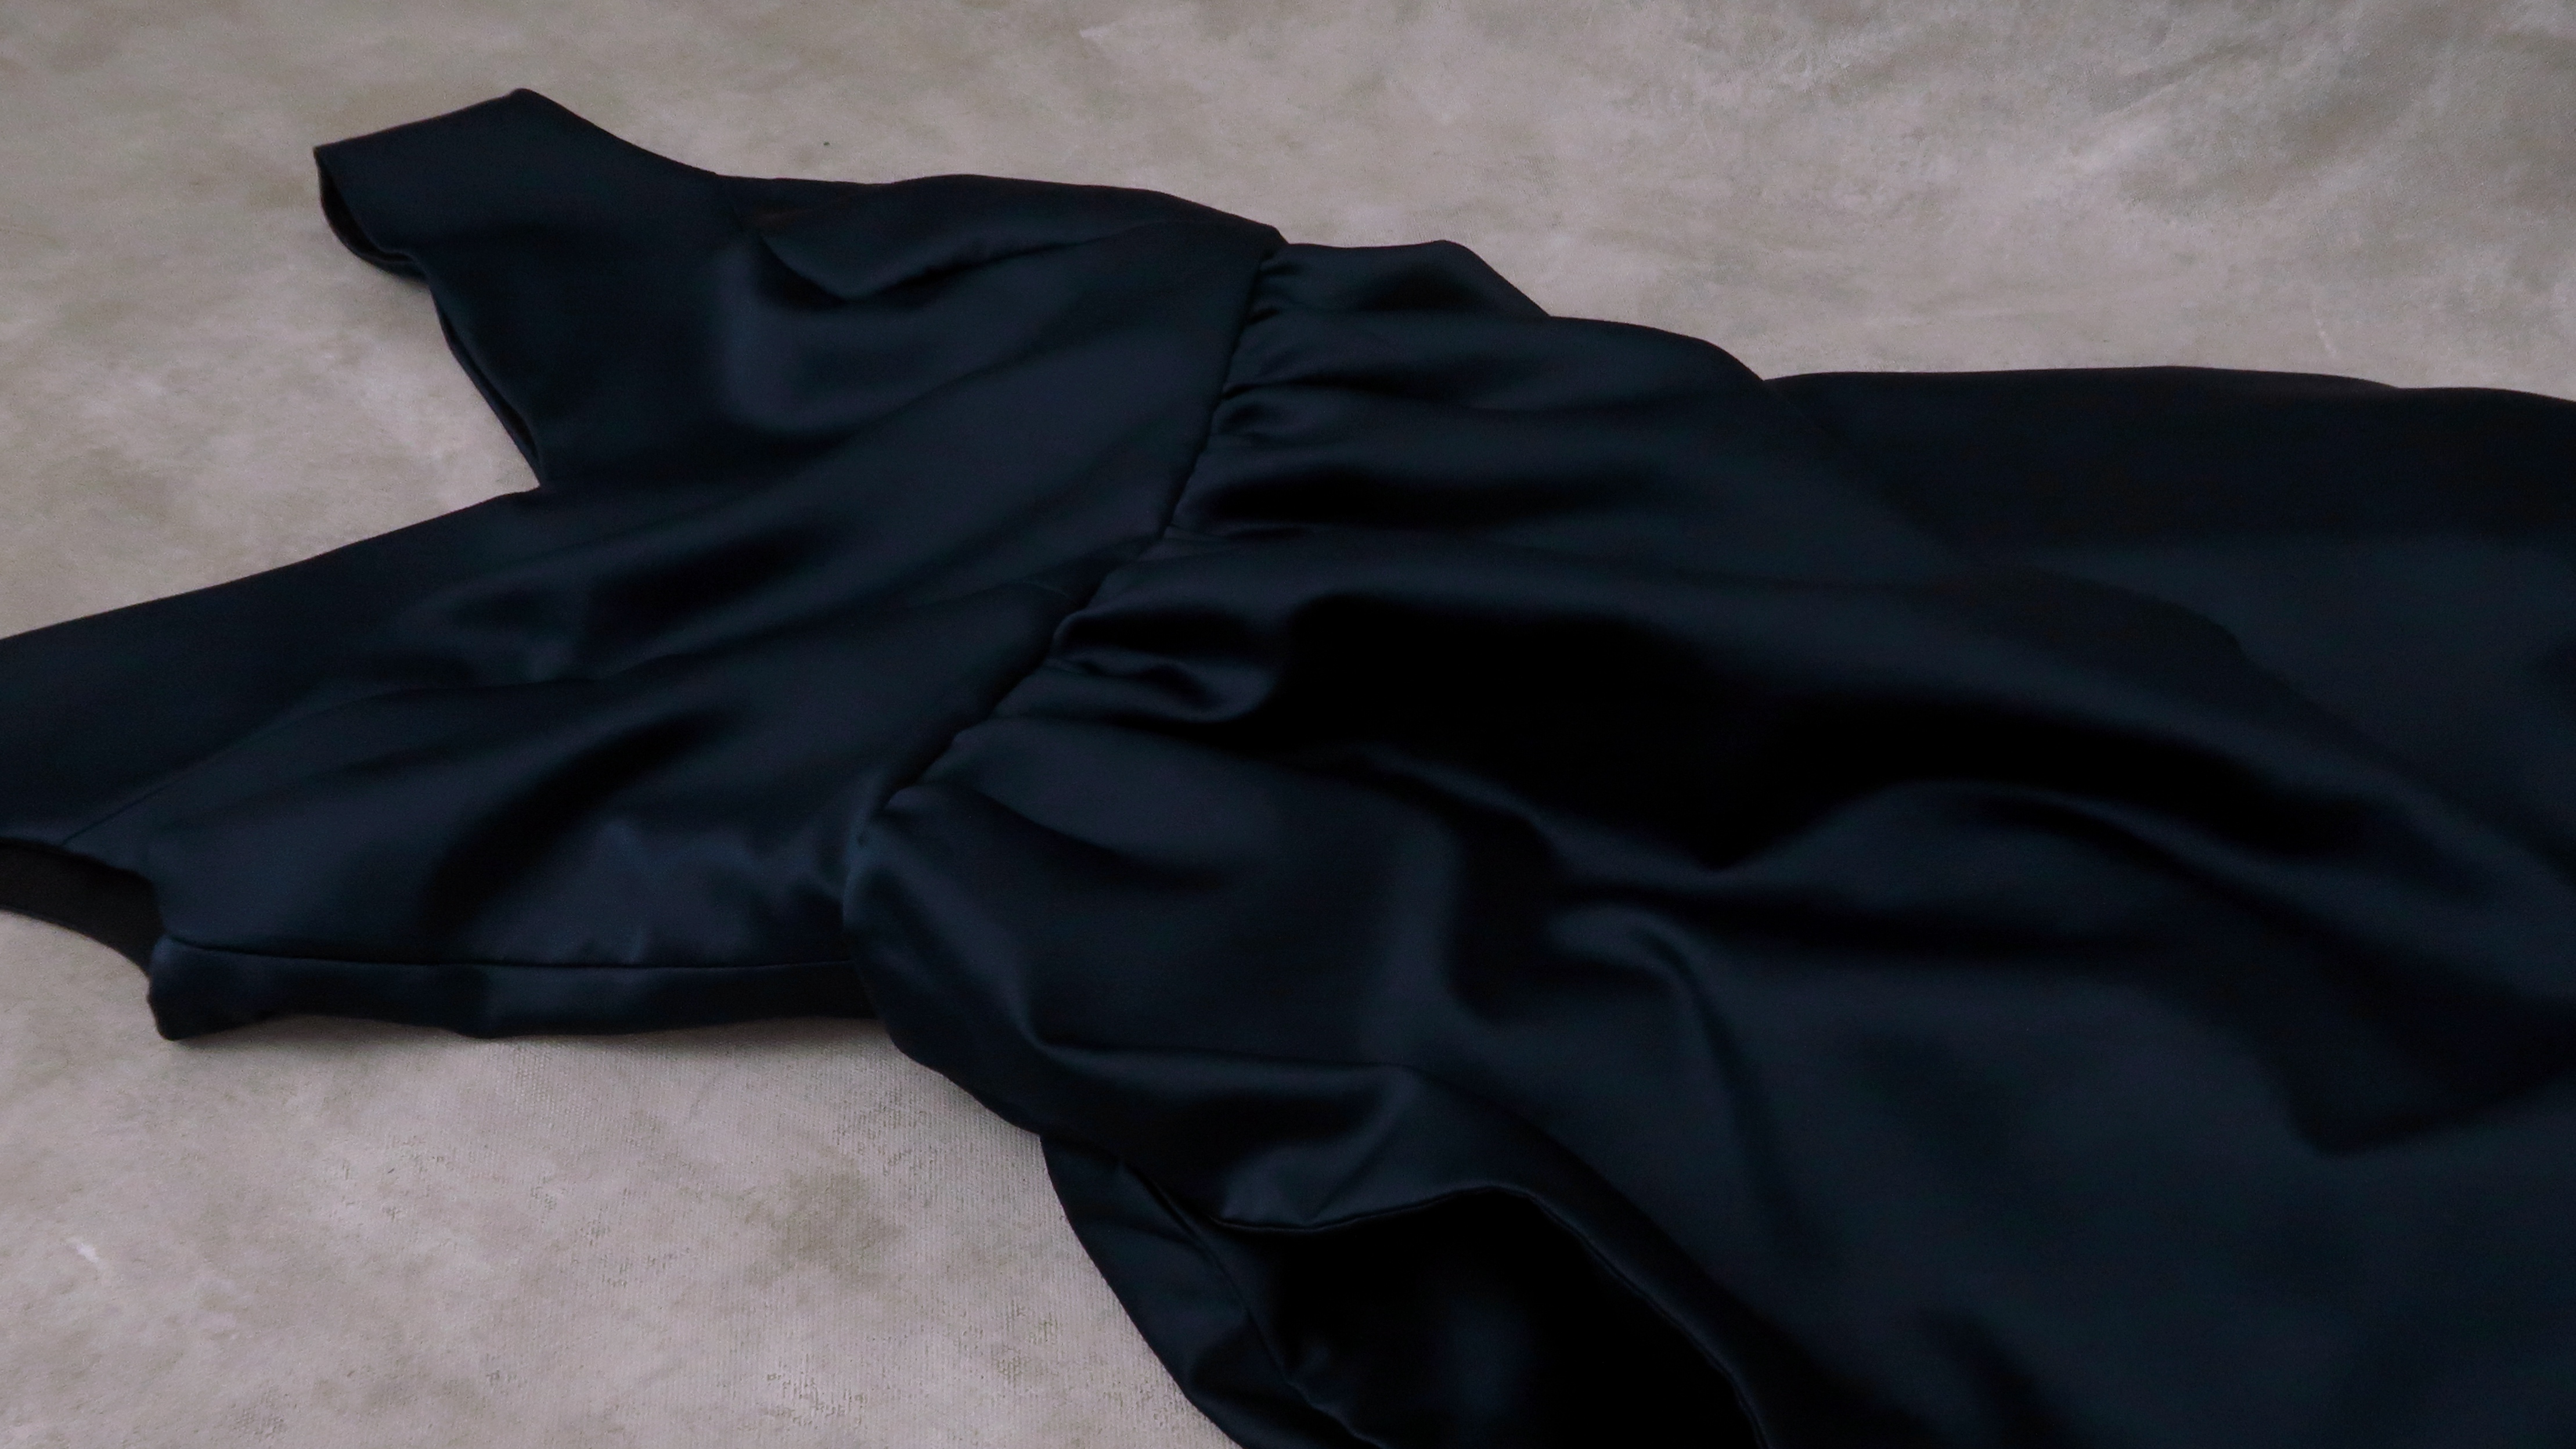
After a couple of on and off months of sewing, we arrived at the final product! A navy dress with v-necks and a gathered skirt. I was pretty happy with how this one came out, with one exception. I’m a fan of the top, I’m a fan of the colour, I’m a fan of the gathered skirt, but I don’t love how the back looks when I’m standing. For some reason, the portion where the zipper sits tucks between my legs, as if im wearing a long skort (skirt in the front, pants in the back). Maybe its because there was too much fabric at the back, maybe the zipper was too heavy and caused it to tuck between my legs, I’m not super sure at the moment. But I guess its not so bad, and I can’t see the back anyways, am I right? Nonetheless, I had fun making this dress, and I’m quite proud that I was able to work in a lining for the first time to make this dress what I wanted it to be.